Guide
This guide was generated based on the following options:
- Operating System: linux
- Platform: ps4
- Control Scheme: Mouse
- Connection Type: USB
If you want to change any of these options please go back to the main page.
Capabilities and limitations
GIMX allows to emulate a HORI Pad FPS Plus. Any mouse, keyboard or game controller (gamepad, joystick, fightstick...) can be used. All controls are working including touchpad. Adjusting ADS (aiming down the sight) sensitivity is possible using a second profile triggered by the mouse right click. It is also possible to use additional profiles for controlling vehicles. Motion sensing controls are not supported due to limitations of the emulated device. Audio is not supported as well (but it is possible to use another Dualshock 4).

Hardware requirements
- Computer
- PC running Ubuntu 18.04 or derivatives such as Linux Mint 19
OR
Raspberry Pi running Raspbian Stretch (experimental)
- PC running Ubuntu 18.04 or derivatives such as Linux Mint 19
- Mouse
Forget about using a mouse with anything less than 2000DPI and 250Hz. A gaming mouse with 5000+ DPI and running at 500Hz is highly recommended. Whereas a gaming mouse with more than 1600 DPI doesn't really make a difference on a computer, it's not the case with GIMX. GIMX can decelerate mouse movements so as to counteract the in-game acceleration. A high DPI mouse results in smoother movements in this specific case. - USB adapter
This is an adapter that you can either buy from the GIMX shop or build yourself:- Forget about using any other USB to USB cable (like file transfer cables, or direct cables), they are not suited to this use.
- Genuine Dualshock 4 controller
It is required because GIMX has to authenticate to the console.
Before Installation
Add "universe" to your software sources
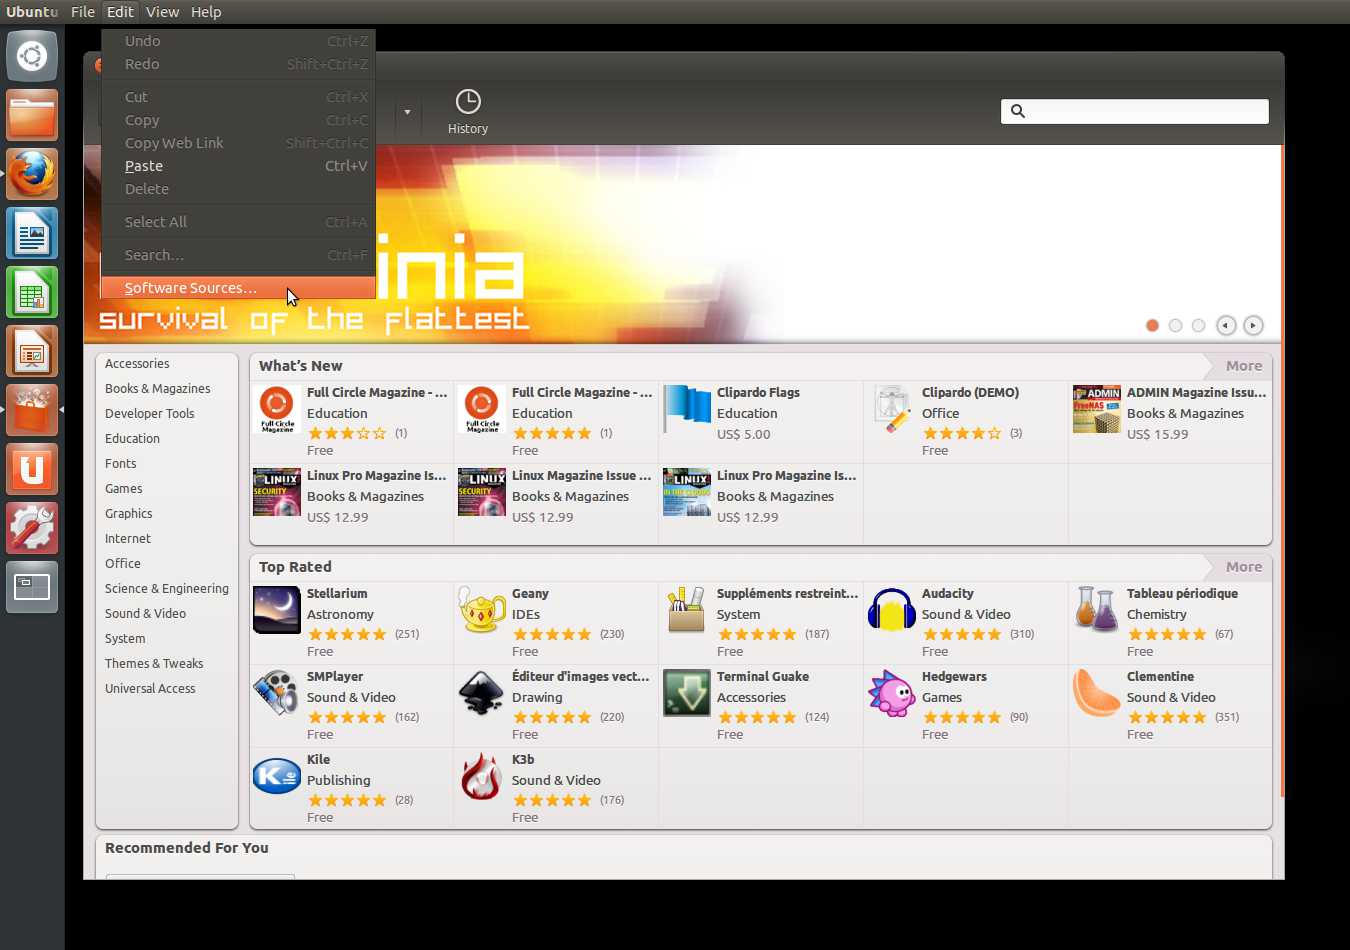
- Start Ubuntu Software Center.
- Click Edit>Software Sources.
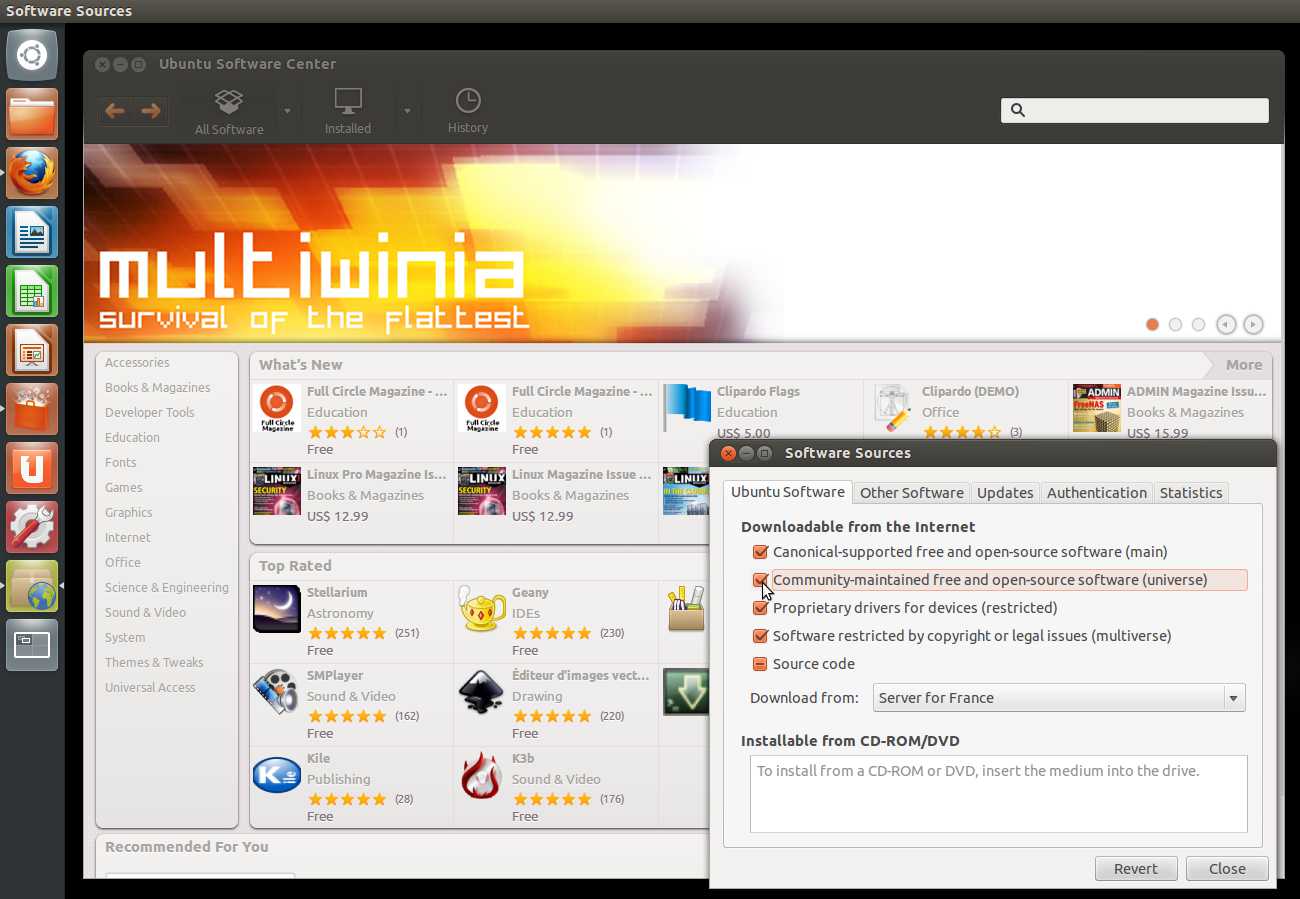
- Select "Community-maintained Open Source software (universe)", and close.
Refresh software sources
If you are running from a Live CD or a Live USB, you have to manually refresh software sources:
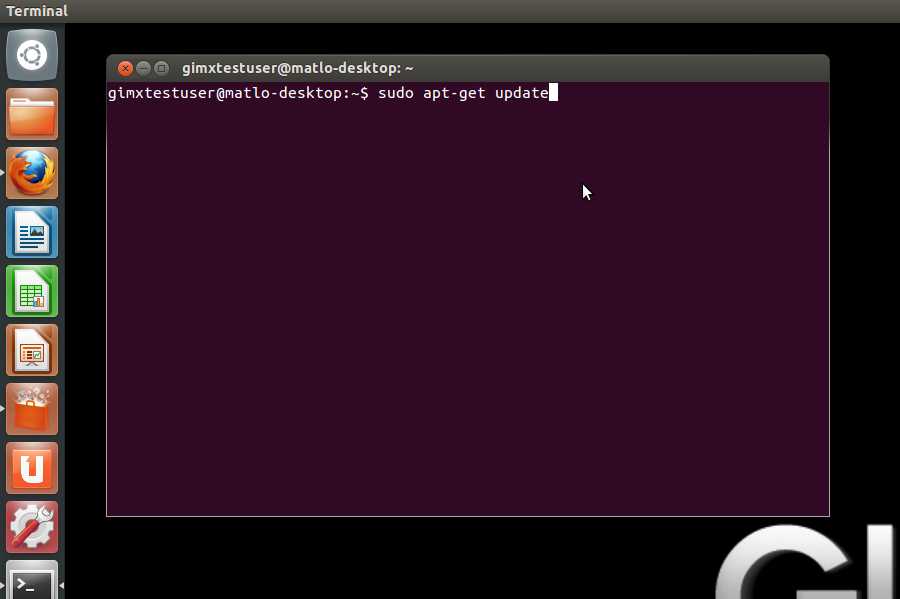
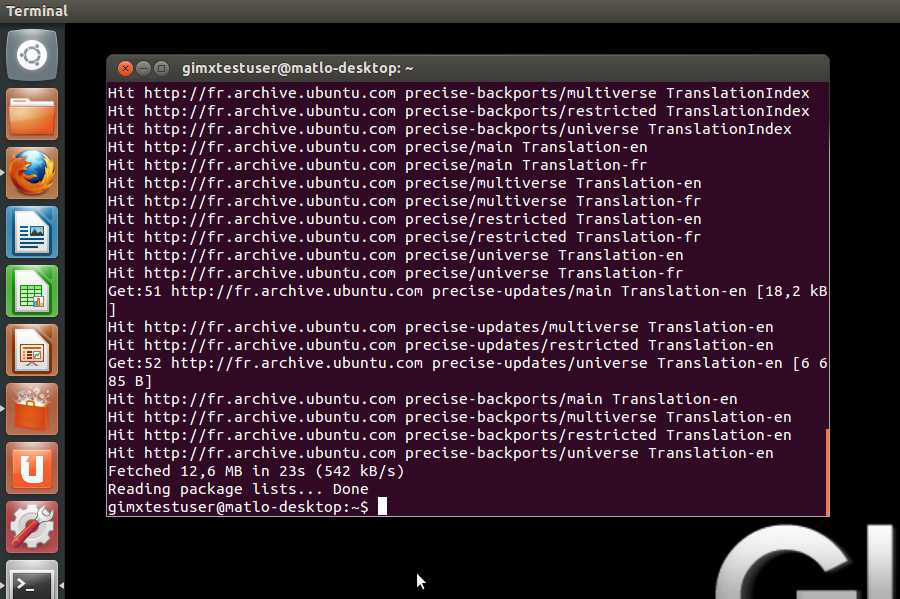
- Click on the Ubuntu desk.
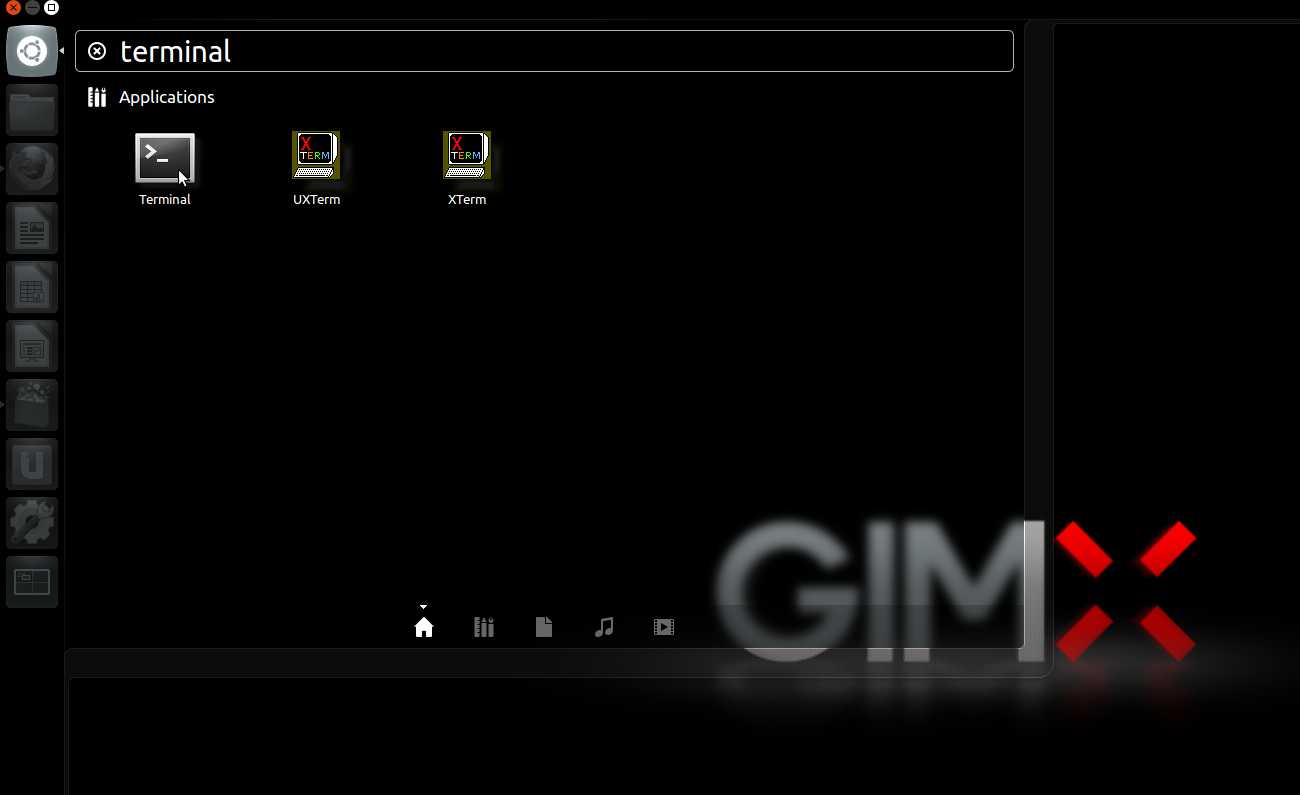
- In the search area, type "terminal" with no quotes, and hit enter.
- In the terminal, type "sudo apt-get update" with no quotes, and hit enter.
GIMX Installation
Depending on architecture of your system choose correct package.
Downloading configurations
Downloading configurations directly from gimx-launcher (recommended)
Most config files shared by users of the GIMX community can be downloaded directly from gimx-launcher. To check all available configurations please refer to Configurations Index page on this wiki.
Please contribute by sharing your own configs in the Configuration and Requests forum section.
- Run gimx-launcher
- The first time gimx-launcher is started, if there is no config file present on the PC, a message box will ask you if config files should be downloaded.

- The config file downloader is also available through the "Help>Get configs" menu entry.

- The config file downloader displays all config files available to download:

The config name syntax is: <CONSOLE>_<GAME>_<AUTHOR>.xml or <CONSOLE>_<OS>_<DEVICE>_<AUTHOR>.xml.
Examples:
- LogitechDrivingForceGT_G29.xml: config file to use with Logitech Driving Force GT for emulating a G29.
- PS3_Battlefield3_McKack.xml: config file to use with mouse built by McKack for the PS3 version of Battlefield 3.
- PS3_X360Pad.xml: config file to use with a 360 pad and a PS3.
Just select configurations you want to download and click OK, program will do the rest and you can now use config you've downloaded.
If you can't find configuration that matches your needs in gimx-launcher nor in Configurations Index you may need to create one by yourself.
Downloading configurations manually
Some configurations aren't pushed to the repository for various reasons including:
- lack of ADS (right-click aim) profile
- mislabeled controls
- being untested
- low quality
Note: As for time of writing this article all configurations need to be hosted on the forum now so they will never get deleted. Some older configs however may be hosted on external download servers and you will need to download them from these servers first in order to use them.
If you want to try them anyway, use the following guide:
- Go directly to the Configurations Index page on this wiki, select configuration you wish to download and click "More Info" link.
- Copy config to clipboard or download it from external server
- Open your gimx-launcher
- Click File->Open config directory
- Create a new text file with name you wish to use (make sure to add .xml after the name), open it using notepad and paste data. Then save the file.
- Click File->Refresh in gimx-launcher so config will appear on the configurations list or simply restart gimx-launcher.
Mouse sensitivity conversion
If you wish to use mouse you need to convert sensitivity parameter to match your mouse DPI otherwise your aim would be over-sensitive or under-sensitive depending on config author mouse DPI.
This process is simple and mostly automated. See the following guide:
- Run gimx-launcher
- Select configuration you want to convert sensitivity for
- Click File->Edit config
- Click Edit->Convert Mouse Sensitivity
- Enter DPI value of your mouse and click OK
- Click File->Save
That's all.You can now close config editor.
Editing configurations
Sometimes you would want to edit a configuration to match your needs. That includes:
- Reassigning keys
- Increasing/Decreasing sensitivity
- Playing with other values
In order to do it, please check following tutorial.
Creating configurations
If you can't find configuration that satisfies you, for example when:
- Using Steering wheel that there's no ready-made config for
- Trying to play a game using a mouse that there's no premade config for
- Any other cases when you want to customize configuration to the max
You may need to create your own configuration. In order to do it please check Creating Configurations tutorial.
Loading firmware
This part explains how to load the right firmware into the adapter.
Preparation for flash
Connect both ends of the adapter to the computer, as shown in the picture below.

Flashing firmware for official GIMX adapter
- Run gimx-launcher.
- Click on "Help > Update firmware".
- Select EMUPS4, click on "Load", and follow the instructions. Upon success a "Firmware loaded successfully!" message should be displayed.
Flashing firmware for other adapters
Firmwares
GIMX adapter or Arduino-compatible atmega32u4-based boards
Using gimx-loader
(easy method, recommended)
- Install the GIMX software.
- Run gimx-launcher.
- Click on "Help > Update firmware".
- Select a firmware, click on "Load", and follow the instructions.
Upon success a "Firmware loaded successfully!" message should be displayed.
Notes:
- gimx-loader is available since GIMX 6.8
- it is not necessary to download the firmwares since they are provided by the installer
Using Avrdude
(hard method, not recommended)
- Download the Arduino Leonardo drivers and unzip the archive.
- Right-click on the arduino.inf file and click on Install.
- Make sure that the USB to UART board (e.g. CP2102) is connected and powered, and that the wiring with the atmega32u4 board is correct (see above GND->GND, TXD->RXD, RXD->TXD).
- Make sure that the atmega32u4 board is connected to your computer and powered.
- You should now have the atmega32u4 board connected via the USB-to-UART and via its on-board USB port
- Download the Arduino Builder tool and extract the archive (using 7zip).
- Open a command window (cmd) and change the current directory to the extracted ArduinoBuilder folder. e.g. cd "C:\Path\To\ArduinoBuilder\", or simply shift-right-click in windows file explorer and click "open command window here."
- Type the following text but don't press enter:
avrdude -p atmega32u4 -c avr109 -P COMx -D -U flash:w:<path to atmega32u4.hex>:i
- Make sure to replace "<path to atmega32u4.hex>" in the command line with the location of the firmware to load (for example: C:\Users\YourUserName\Downloads\firmwares-5.0\EMUPS4\atmega32u4.hex).
- Open the device manager, and expand the "Ports" item. You should see your USB-to-UART driver (e.g. CP2102) connected to a COM port and the Arduino connected to another COM port. *Neither* of these are the COM ports you're looking for, in all likelihood.
- Unplug/replug the atmega32u4 on-board USB (not the USB-to-UART) from your computer (doing this on the computer side rather than the Arduino side may be easier). When you replug it back in, watch the device manager, and notice which COM port is opened when the bootloader starts up. Ideally, this will be the same every time it is disconnected and reconnected. *THIS* is the COM port you want!
- Change the "x" in "COMx" in the above command to the number of the COM port that the bootloader uses.
- Unplug and replug the atmega32u4 USB again, and as soon the bootloader COM shows up, press enter to execute your command
- The bootloader is executed very briefly. You may have to make a few attempts before the firmware gets loaded correctly!
- If successful, avrdude should say "avrdude done. Thank you."
In GNU/Linux, the avrdude command is:
avrdude -p atmega32u4 -c avr109 -P /dev/ttyACM0 -D -U flash:w:atmega32u4.hex:i
(make sure to adjust the port and the file)
Teensy boards
Teensy boards can be easily flashed using the Teensy Loader.
It is only compatible with genuine teensy boards.
Other tools (DFU-compatible boards)
There are a few other tools that can be used to load the hex file:
- Flip utility from Atmel (not compatible with genuine teensy boards and with Arduino-compatible atmega32u4-based boards)
- dfu-programmer command-line tool (not compatible with genuine teensy boards and with Arduino-compatible atmega32u4-based boards)
dfu-programmer example:
   sudo dfu-programmer at90usb162 erase
   sudo dfu-programmer at90usb162 flash at90usb162.hex
   sudo dfu-programmer at90usb162 reset
Connecting to the console
Now you need to connect the USB adapter to both your computer and the console.
In this guide official GIMX adapter from GIMX shop is used. If you use a DIY USB adapter, several steps may be different from this guide.
- Connect AVR board (USB cable) to the console
- Connect UART converter (the other side) to the computer
- Turn off Dualshock 4 controller (this is really important)
- Connect turned off controller to the computer using a USB cable in good condition
Playing with GIMX
USB Adapter
Check points below to be sure that you are ready to play:
- Make sure your device is connected to both, console and computer. If you are unsure how to do this see this guide
- Check if you have correct firmware loaded on USB adapter
- Your Dualshock 4 Controller was TURNED OFF before and it's connected to the computer in order to send authentication signal
If you are sure you did everything correctly you can proceed to the last part.
GIMX Options
On the gimx-launcher screen there are following options:

- Output - Set to "GIMX adapter"
- Port - There should be only one entry available, if it's empty then you adapter is not detected
- Input - Should be "Physical Devices"
- Config - There you can select configuration you want to use
- Messages - "None" for playing, "log file" for troubleshooting
- Mouse capture - "Auto" is recommended. You may force enabling or disabling mouse capture selecting either "Yes" or "No".
Playing with GIMX
- Click on "Check". It may indicate something wrong with the configuration, or important information (it will say if a device is missing).
- Click on "Start". If "Mouse capture" is set to "Yes" or your config has mouse or keyboard bindings and "Mouse capture" is set to "Auto", your mouse will be grabbeb.
- Press the key/button assigned to PS and play.
- Exit gimx by pressing "Shift+Esc"