Guide
This guide was generated based on the following options:
- Operating System: linux
- Platform: ps3
- Control Scheme: Mouse
- Connection Type: BT
If you want to change any of these options please go back to the main page.
Capabilities and limitations
GIMX allows to emulate a Dualshock 3. Any mouse, keyboard or game controller (gamepad, joystick, fightstick...) can be used. All controls are working, except motion sensing. Adjusting ADS (aiming down the sight) sensitivity is possible using a second profile triggered by the mouse right click. It is also possible to use additional profiles for controlling vehicles.

Hardware requirements
- Computer
- PC running Ubuntu 18.04 or derivatives such as Linux Mint 19
OR
Raspberry Pi running Raspbian Stretch (experimental)
- PC running Ubuntu 18.04 or derivatives such as Linux Mint 19
- Mouse
Forget about using a mouse with anything less than 2000DPI and 250Hz. A gaming mouse with 5000+ DPI and running at 500Hz is highly recommended. Whereas a gaming mouse with more than 1600 DPI doesn't really make a difference on a computer, it's not the case with GIMX. GIMX can decelerate mouse movements so as to counteract the in-game acceleration. A high DPI mouse results in smoother movements in this specific case. - Bluetooth adapter
Using a bluetooth dongle or an internal bluetooth module, GIMX can disguise itself as a controller to your console.
While all bluetooth dongles/modules can't work with GIMX, working dongles are quite common. Check the compatibility list.
Before Installation
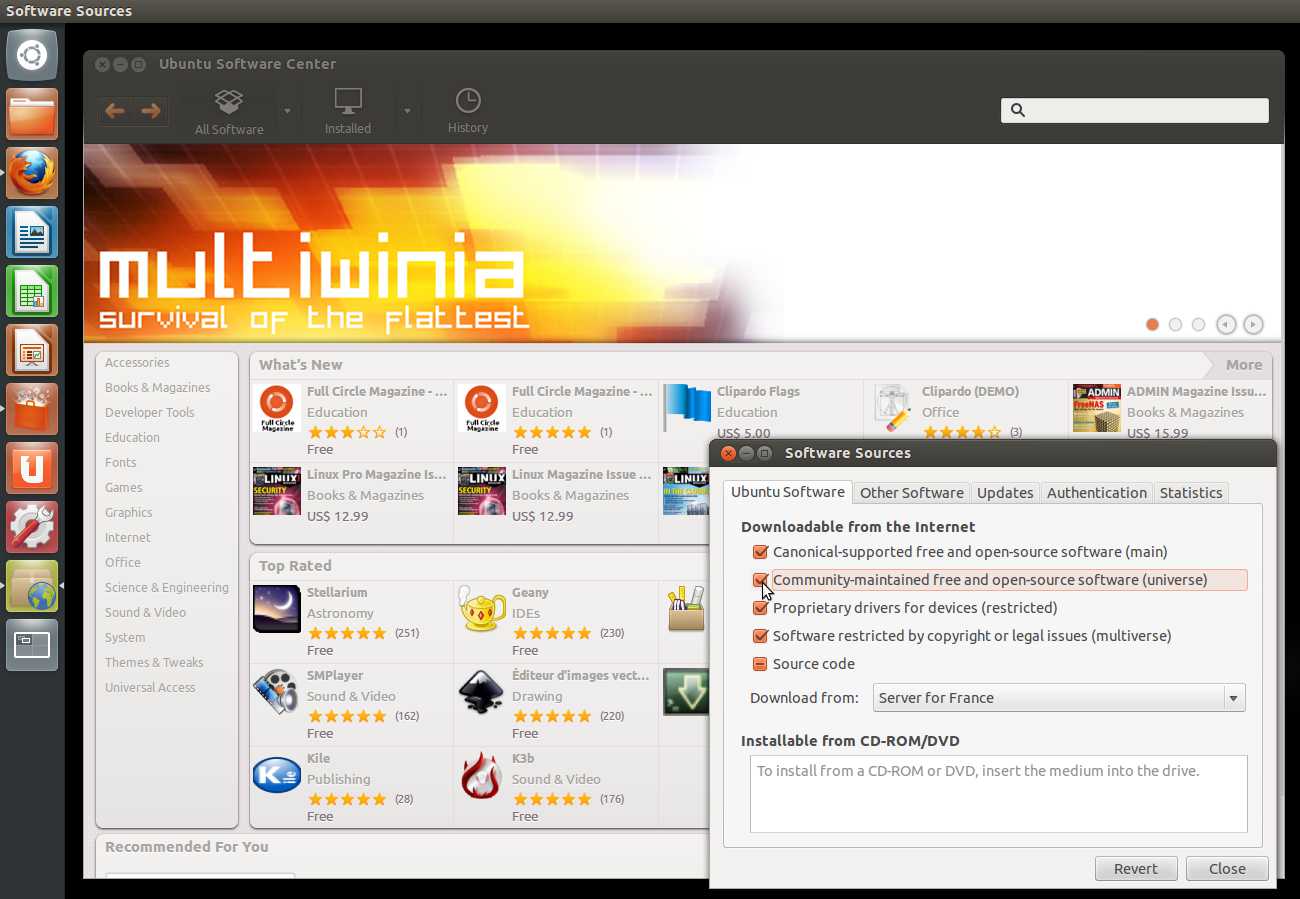
Add "universe" to your software sources
- Start Ubuntu Software Center.
- Click Edit>Software Sources.
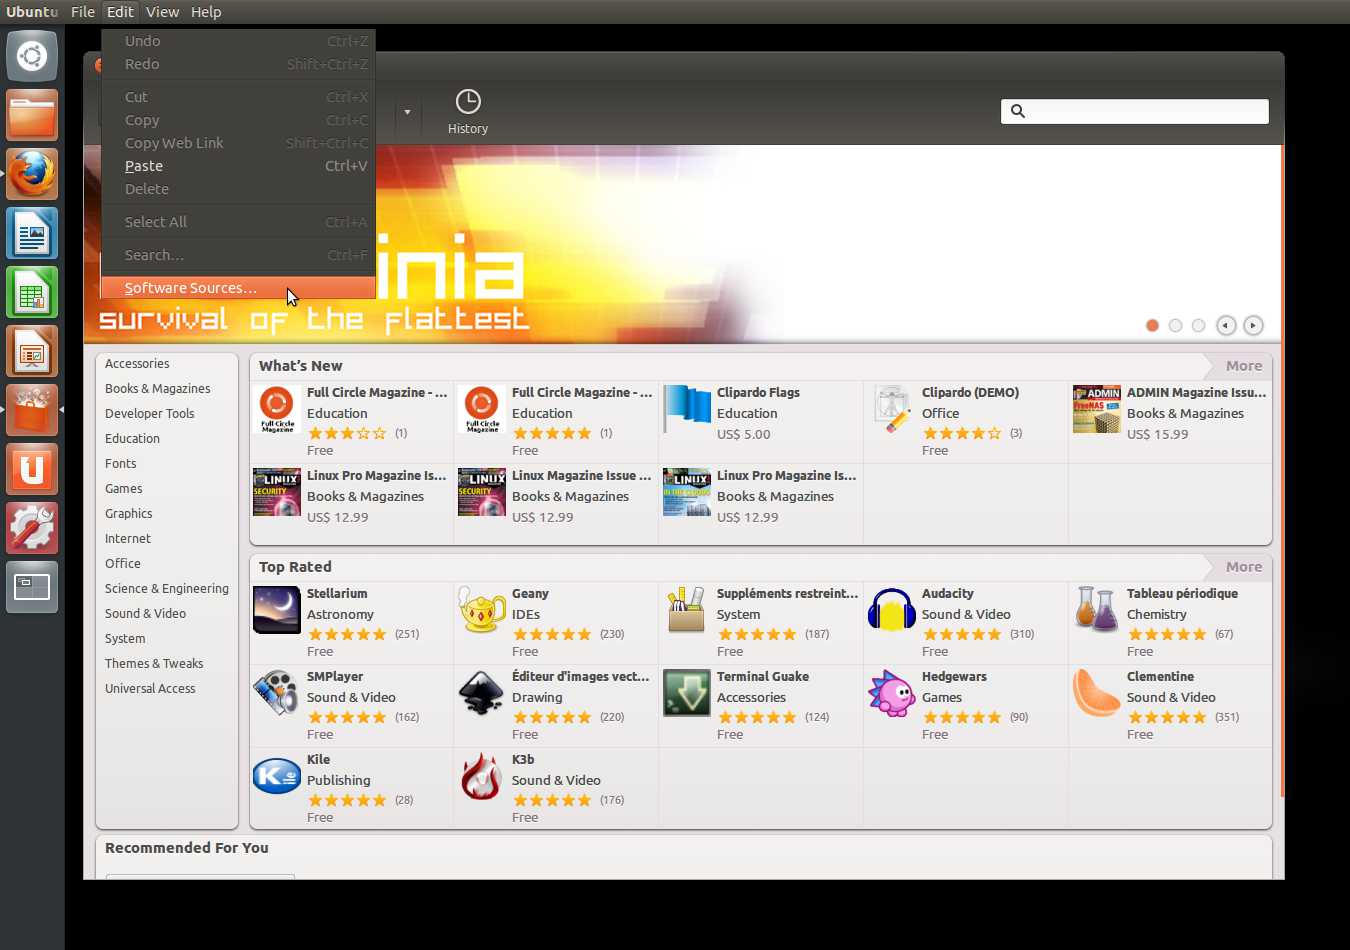
- Select "Community-maintained Open Source software (universe)", and close.
Refresh software sources
If you are running from a Live CD or a Live USB, you have to manually refresh software sources:
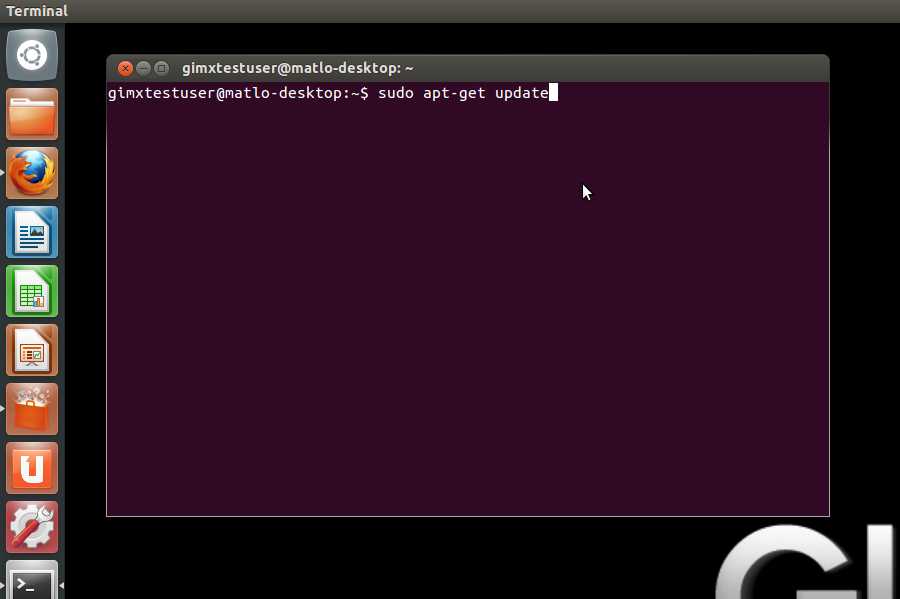
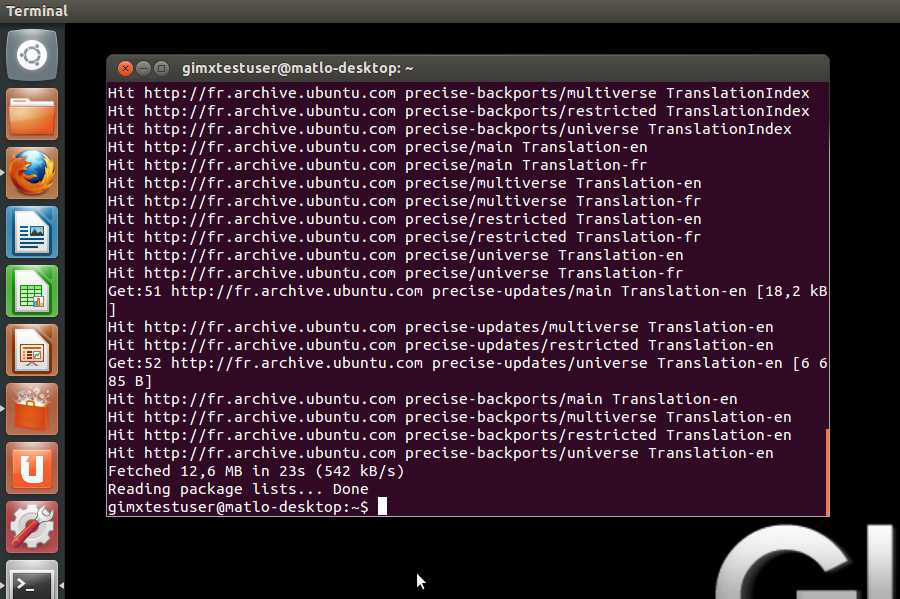
- Click on the Ubuntu desk.
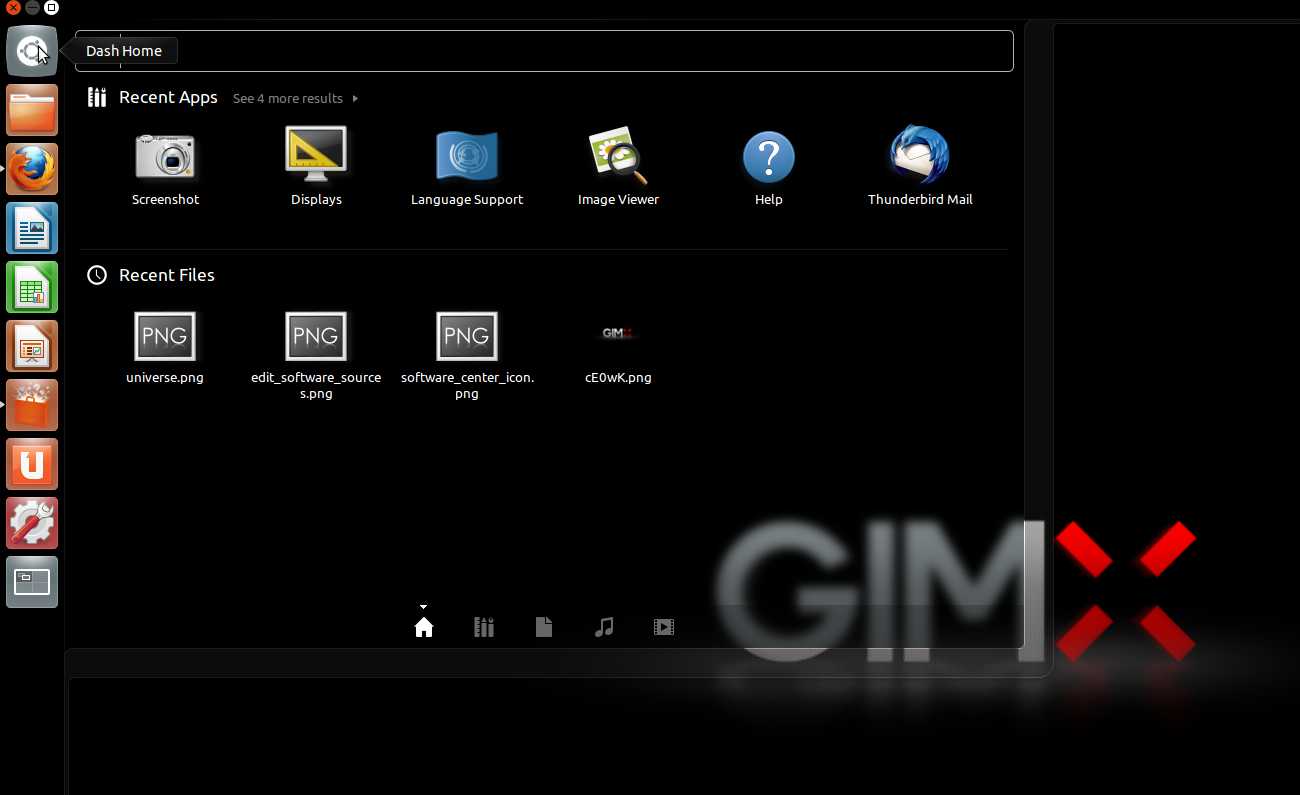
- In the search area, type "terminal" with no quotes, and hit enter.
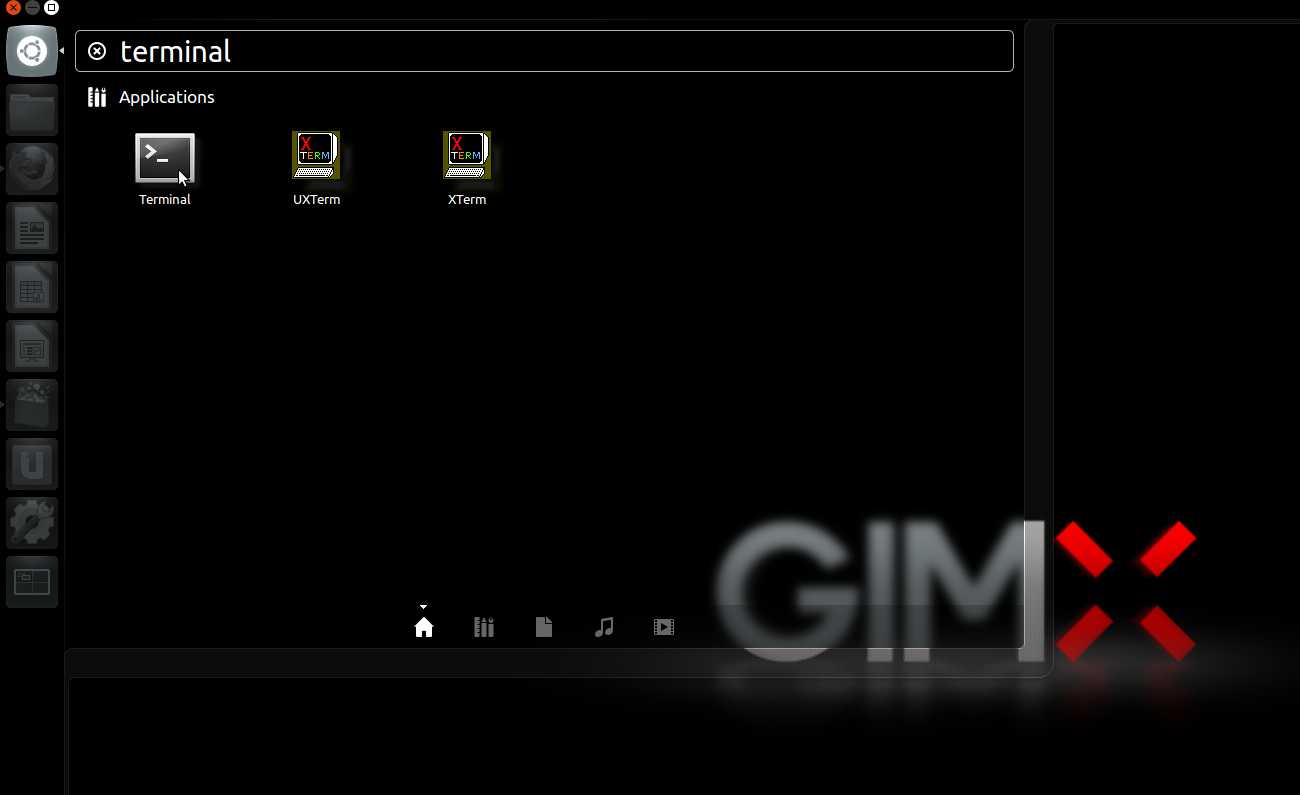
- In the terminal, type "sudo apt-get update" with no quotes, and hit enter.
GIMX Installation
Depending on architecture of your system choose correct package.
Downloading configurations
Downloading configurations directly from gimx-launcher (recommended)
Most config files shared by users of the GIMX community can be downloaded directly from gimx-launcher. To check all available configurations please refer to Configurations Index page on this wiki.
Please contribute by sharing your own configs in the Configuration and Requests forum section.
- Run gimx-launcher
- The first time gimx-launcher is started, if there is no config file present on the PC, a message box will ask you if config files should be downloaded.

- The config file downloader is also available through the "Help>Get configs" menu entry.

- The config file downloader displays all config files available to download:

The config name syntax is: <CONSOLE>_<GAME>_<AUTHOR>.xml or <CONSOLE>_<OS>_<DEVICE>_<AUTHOR>.xml.
Examples:
- LogitechDrivingForceGT_G29.xml: config file to use with Logitech Driving Force GT for emulating a G29.
- PS3_Battlefield3_McKack.xml: config file to use with mouse built by McKack for the PS3 version of Battlefield 3.
- PS3_X360Pad.xml: config file to use with a 360 pad and a PS3.
Just select configurations you want to download and click OK, program will do the rest and you can now use config you've downloaded.
If you can't find configuration that matches your needs in gimx-launcher nor in Configurations Index you may need to create one by yourself.
Downloading configurations manually
Some configurations aren't pushed to the repository for various reasons including:
- lack of ADS (right-click aim) profile
- mislabeled controls
- being untested
- low quality
Note: As for time of writing this article all configurations need to be hosted on the forum now so they will never get deleted. Some older configs however may be hosted on external download servers and you will need to download them from these servers first in order to use them.
If you want to try them anyway, use the following guide:
- Go directly to the Configurations Index page on this wiki, select configuration you wish to download and click "More Info" link.
- Copy config to clipboard or download it from external server
- Open your gimx-launcher
- Click File->Open config directory
- Create a new text file with name you wish to use (make sure to add .xml after the name), open it using notepad and paste data. Then save the file.
- Click File->Refresh in gimx-launcher so config will appear on the configurations list or simply restart gimx-launcher.
Mouse sensitivity conversion
If you wish to use mouse you need to convert sensitivity parameter to match your mouse DPI otherwise your aim would be over-sensitive or under-sensitive depending on config author mouse DPI.
This process is simple and mostly automated. See the following guide:
- Run gimx-launcher
- Select configuration you want to convert sensitivity for
- Click File->Edit config
- Click Edit->Convert Mouse Sensitivity
- Enter DPI value of your mouse and click OK
- Click File->Save
That's all.You can now close config editor.
Editing configurations
Sometimes you would want to edit a configuration to match your needs. That includes:
- Reassigning keys
- Increasing/Decreasing sensitivity
- Playing with other values
In order to do it, please check following tutorial.
Creating configurations
If you can't find configuration that satisfies you, for example when:
- Using Steering wheel that there's no ready-made config for
- Trying to play a game using a mouse that there's no premade config for
- Any other cases when you want to customize configuration to the max
You may need to create your own configuration. In order to do it please check Creating Configurations tutorial.
Loading firmware
Connecting to the console
TODO: Where to split and what are instructions for second-time connection?
- Open gimx-launcher.
- In the "Output" drop-down menu, select "Bluetooth / PS3".
- If no previous pairing was defined, you will be asked to create a new pairing. Click on "Yes".
- As requested, connect a Sixaxis / Dualshock 3, and click on "Yes".
- Select the pairing to use and click on "Validate".
- As requested, connect a bluetooth dongle, and click on "Yes".
- Save the bluetooth dongle address as you may wish to restore it later.
- Select the bluetooth dongle, and click on "Validate".
- Make sure you saved the dongle address, and click on "Yes".
- The dongle address will be modified to match the address of the Sixaxis / Dualshock 3.
- If you get an error message, buy a compatible bluetooth dongle.
- Unplug your sixaxis and if it doesn't power off by itself, press the PS button until it powers off.
- In the "Config" drop-down menu, select the configuration file to use.
- Click on "Start".
- Play.
- Press Left Shift + Escape to quit.
Playing with GIMX
TODO: ADD BT INSTRUCTIONS