マウスのキャリブレーション
Revision as of 09:11, 15 July 2012 by Blackwhite (talk | contribs) (Created page with "現在のマウス補正の設定が GUI 内の "Mouse calibration" に表示されています。<br /> 設定はコンフィグファイルから値が読み込まれます...")
マウスの補正をする前に
ゲーム内の感度を最高に設定してください。そして、マウスのdpiも(選べるなら)一番高いものに設定してください。
マウス補正の開始
gimx-bluetooth (か gimx-serial) を起動し、Output の項にある GUI をチェックして、エミュレーションを開始してください。
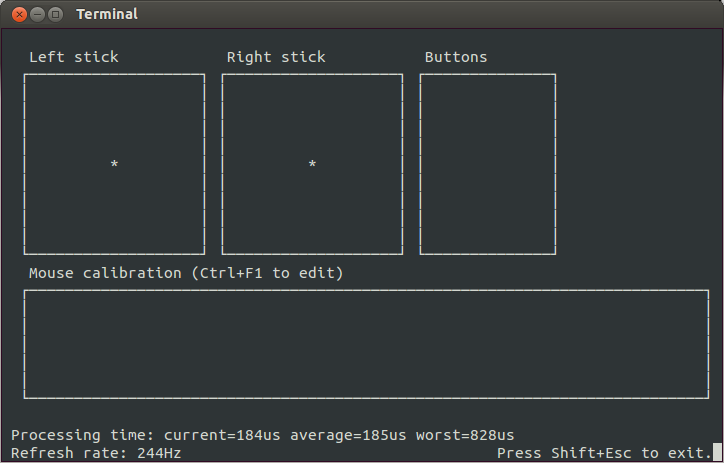
現在のマウス補正の設定が GUI 内の "Mouse calibration" に表示されています。
設定はコンフィグファイルから値が読み込まれます。
もし複数のマウスを使っている場合、必要に応じてそれぞれの設定を行うことができます。
General instructions
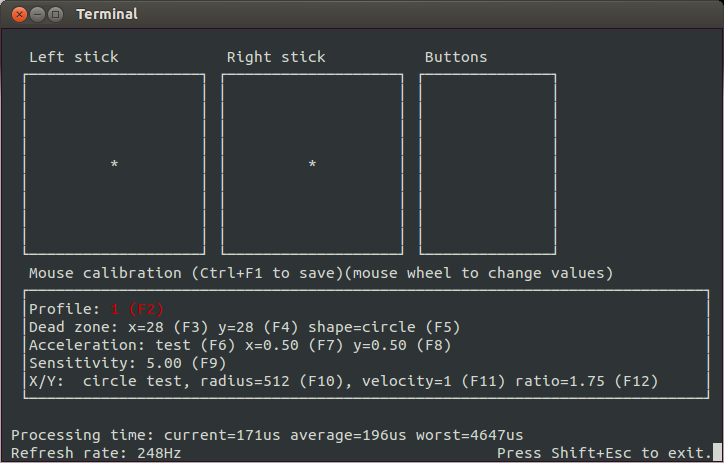
Press ctrl+F1 to enable the calibration.
Press F1 ... F12 to select the parameter, and use the mouse wheel to change the value. Press ctrl+F1 to leave the calibration and save the parameters.
Step-by-step instructions
- Press ctrl+F1. If you use multiple mice, select the mouse to calibrate with the mouse wheel.
- Press F2 and select the profile to calibrate with the mouse wheel (generally, profile 1 is for hip fire, and profile 2 is for aiming down the sight).
- Press F3. If the sight moves, decrease the x dead zone value with the mouse wheel until the sight does not move. Once the sight does not move, increase the x dead zone until the first moving position.
- Press F4. Set the same value as the x dead zone value.
- Press F5. Set the dead zone shape value to "rectangle". If the sight moves, set the dead zone shape to "circle", and let it set to "rectangle" otherwise.
- Press F6 to start a translation test. The sight will move horizontally at different speeds in both left and right directions. A 1:1 translation means the sight should come back near the start point. If it doesn't, use F7 and the mouse wheel to change the x acceleration value.
- Press F8. Set the same value as the x acceleration value.
- Press F9. Adjust the x sensitivity to your liking.
- Press F10 to start a circle test. Adjust the circle radius and speed (F10/F11 + mouse wheel) if necessary. The x/y ratio is properly set if the sight moves in a perfect circle. If it doesn't, adjust the x/y ratio using F12 and the mouse wheel.
- Press ctrl+F1 to save.