Schnellstart
GIMX starten
Ubuntu oder Windows
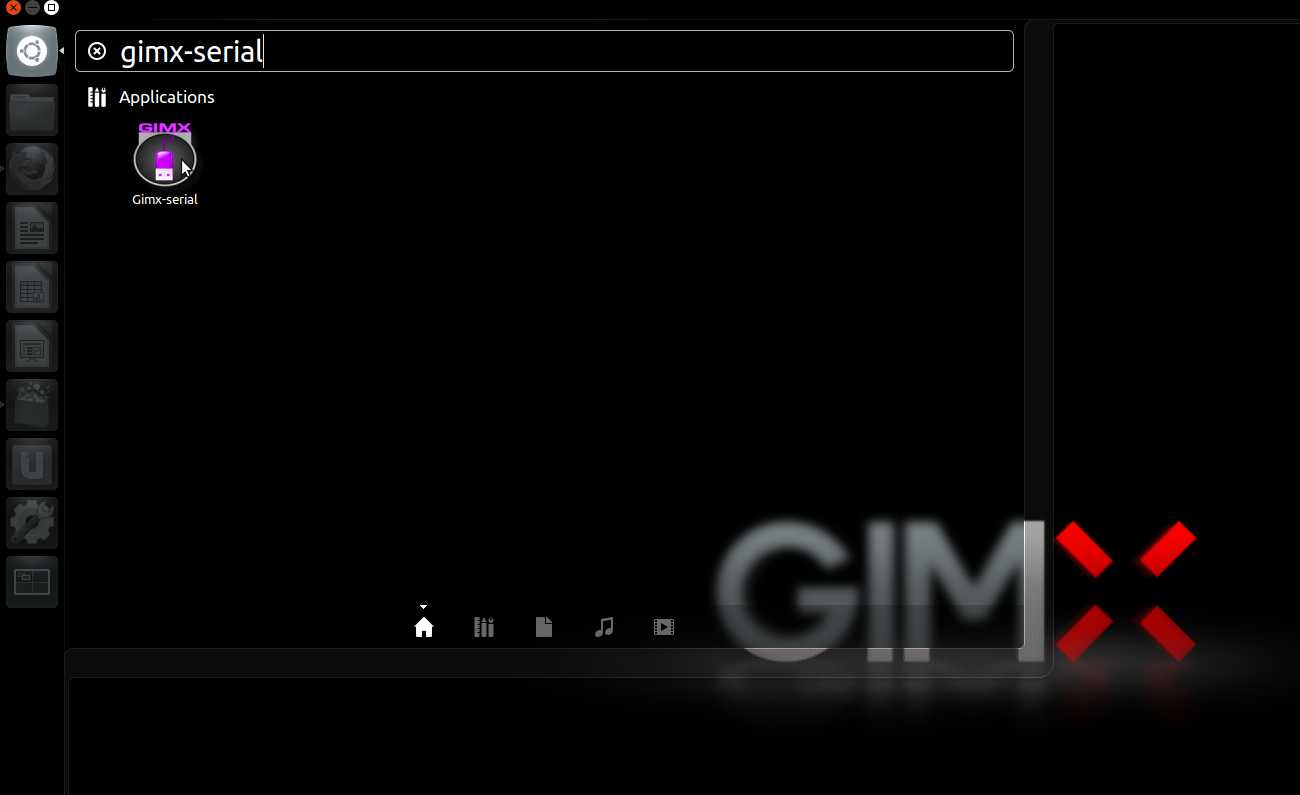
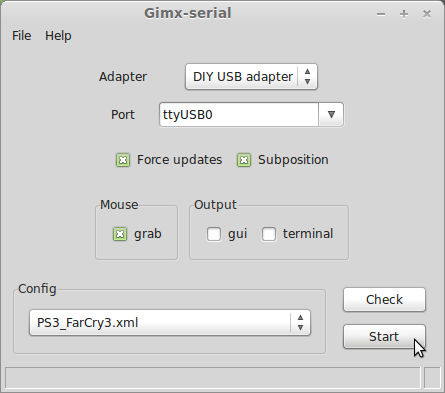
GIMX-Launcher ausführen.
TODO: update screenshot
Konfigurationsdateien herunterladen
Einige Konfigurationsdateien wurden von GIMX-Community Benutzern erstellt und geteilt, diese können über den GIMX-Launcher heruntergeladen werden.
Um der Comminity beizutragen, können eigene Konfigurationen hier geteilt werden: Configuration and Requests forum section.
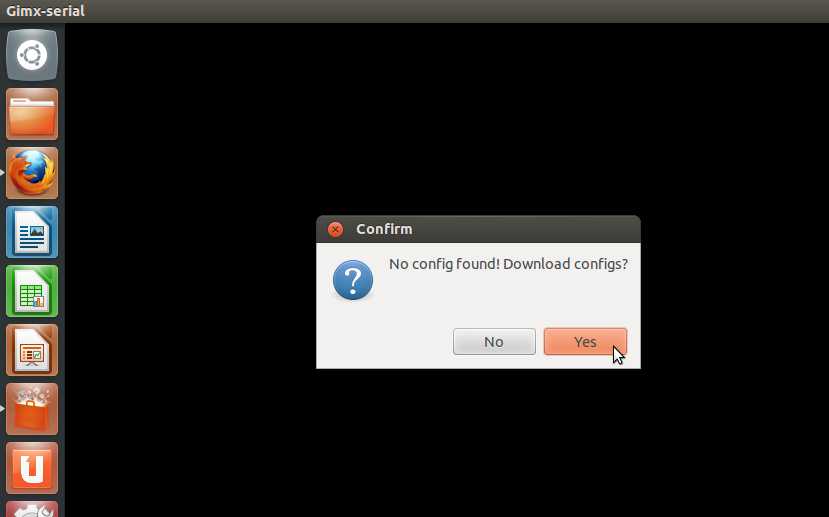
Wenn GIMX-Launcher das erste mal ausgeführt wird und keine Konfigurationen vorhanden sind, erscheint eine Abfrage, ob Konfigurationen heruntergeladen werden sollen.
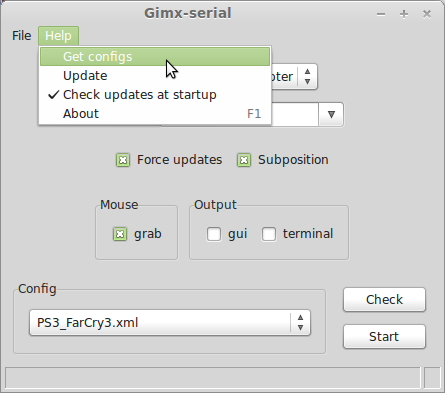
Der Konfigurationsdownloader ist über den Menüpunkt "Help>Get configs" erreichbar.
Der Konfigurationsdownloader zeigt alle verfügbaren Dateien zum download an:

Der Syntaxname der Konfigurationen ist: <KONSOLE>_<SPIEL>_<AUTHOR>.xml oder <KONSOLE>_<BETRIEBSSYSTEM>_<GERÄT>_<AUTHOR>.xml.
Beispiele:
- PS3_Battlefield3_McKack.xml: Konfigurationsdatei erstellt von McKack für PS3 für Battlefiled 3.
- PS3_LINUX_X360Pad.xml: Konfigurationsdatei um unter Linux einen 360 Controller und PS3 zu benutzen.
Maus Sensitivitätsumwandlung
Dieser Abschnitt ist für FPS-Spieler.
Bevor eine vorgefertigte Konfiguration benutzt werden kann, muss man die Empfindlichkeit konvertieren damit diese der eigenen Maus-Auflösung(DPI) angepasst ist.
Im Spiel die Empfindlichkeit auf die höchste Stufe setzen und die Maus-Auflösung(DPI) auf die höchstmögliche stellen. (z.B.: Logitech G5 @2000DPI, Logitech G500 @5700DPI).
GIMX provides means to convert the sensitivity, knowing both the DPI of the source mouse (which can be embedded in the config file) and the DPI of the destination mouse.
If the source DPI and the destination DPI are the same, there is no need to convert anything.
It's possible to do this with gimx-config or gimx-fpsconfig. These tools are further detailed on this page.
GIMX-Konfiguration
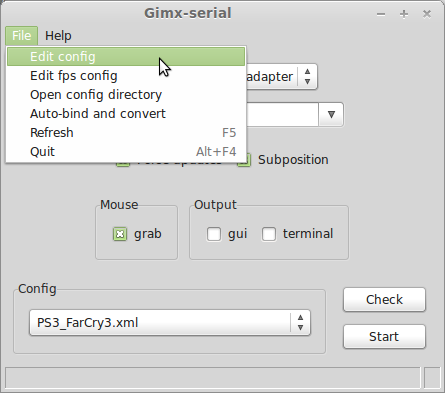
Im GIMX-Launcher die Konfigurationsdatei auswählen und im Menu den Punkt "File>Edit config" auswählen.
Dies öffnet die Konfiguration mit dem GIMX-Config Editor.
Auf "Edit>Convert mouse sensitivity" klicken.
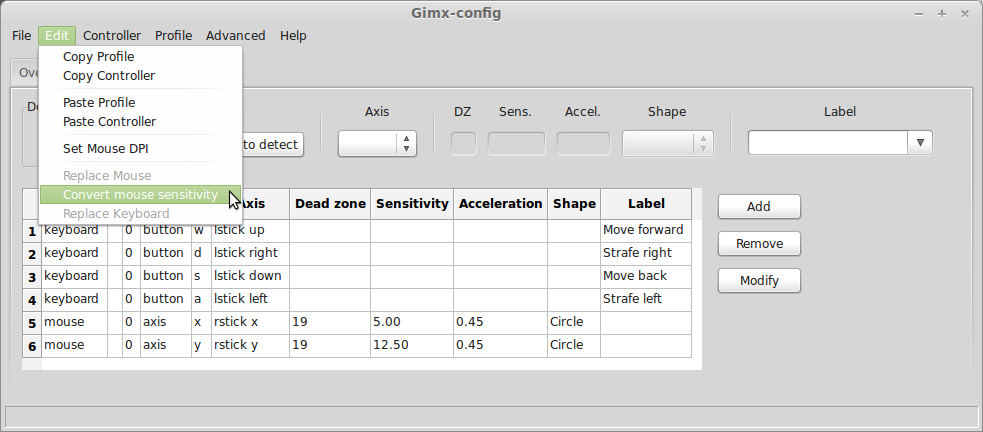
Wenn die Konfiguration keine DPI hinterlegt hat, erscheint ein Hinweis. Die Quell-DPI eingeben und bestätigen.
Ein Hinweis erscheint. Die Ziel DPI eingeben und bestätigen.
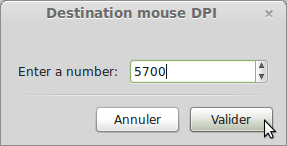
Die Empfindlichkeit wird in allen Profilen angepasst. (Hüft-Feuer = Profil 1, ADS = Profil 2) (PS: ADS = Betätigte rechte Maustaste).

Auf "File>Save" klicken.
Gimx-fpsconfig
In gimx-launcher, select the config file, and click on the "File>Edit FPS config" menu item.

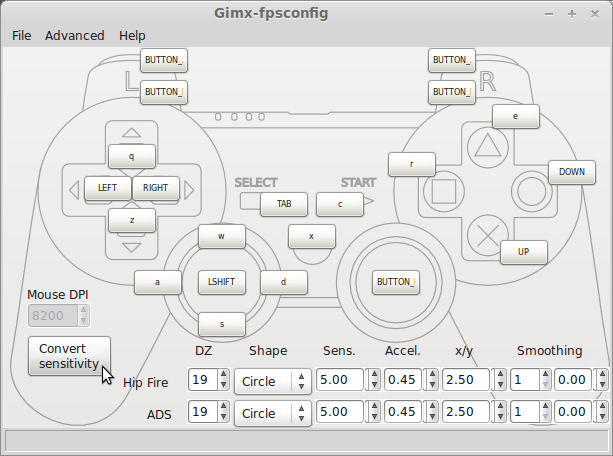
This opens the config file with the gimx-fpsconfig editor.
If the source DPI was saved into the config file, the mouse DPI should be different from 0.
Click on the "Convert sensitivity" button. A dialog box is displayed. Enter the destination DPI and validate.
The sensitivity is converted for both hip fire and ADS.
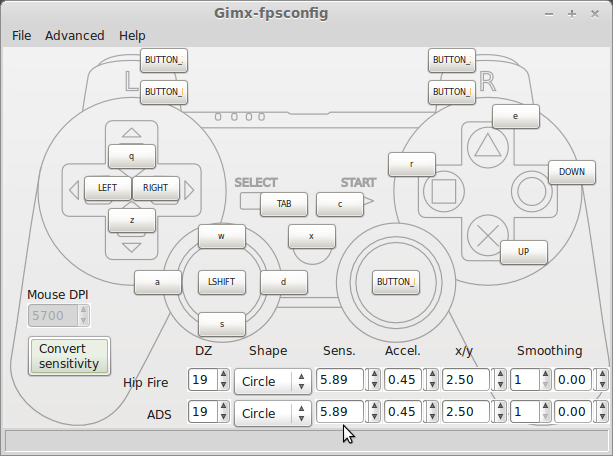
Click on the "File>Save".
Play
Ubuntu or Raspbian + bluetooth
Make sure to read the Hardware requirements.
PS3
- Open gimx-launcher.
- In the "Output" drop-down menu, select "Bluetooth / PS3".
- If no previous pairing was defined, you will be asked to create a new pairing. Click on "Yes".
- As requested, connect a Sixaxis / Dualshock 3, and click on "Yes".
- Select the pairing to use and click on "Validate".
- As requested, connect a bluetooth dongle, and click on "Yes".
- Save the bluetooth dongle address as you may wish to restore it later.
- Select the bluetooth dongle, and click on "Validate".
- Make sure you saved the dongle address, and click on "Yes".
- The dongle address will be modified to match the address of the Sixaxis / Dualshock 3.
- If you get an error message, buy a compatible bluetooth dongle.
- Unplug your sixaxis and if it doesn't power off by itself, press the PS button until it powers off.
- In the "Config" drop-down menu, select the configuration file to use.
- Click on "Start".
- Play.
- Press Left Shift + Escape to quit.
PS4
The PS4 only takes inputs from licensed controller.
In order to authenticate itself as a licensed controller, GIMX needs to be connected over bluetooth to a real Dualshock 4 all the time.
- Raspbian-specific instructions
The bluetooth service is automatically started when a device tries to connect.
This is annoying since it will intercept the connection requests.
To disable the service, run the following command and reboot:
sudo update-rc.d bluetooth disable
Alternatively, you can stop the bluetooth service and move the bluetoothd binary:
sudo service bluetooth stop
cd /usr/sbin
sudo mv bluetoothd bluetoothd.bk
The drawback of this second method is that it will need to be performed again after each update of the bluez package.
- AVR USB Entwicklungs-Board
An AVR USB development board is required for pairing the bluetooth dongle with the PS4.
The same board can be used to build a DIY USB adapter, but no USB to serial TTL converter is needed here.
The firmware with the needed "atmega32u4.hex" file is available at: https://gimx.fr/download/EMUPS4PAIRING.7z
Load this firmware as explained in the Firmware loading instructions.
- Erst-start Instruktionen
- Open gimx-launcher.
- In the "Output" drop-down menu, select "Bluetooth / PS4".
- If no previous pairing was defined, you will be asked to create a new pairing. Click on "Yes".
- As requested, connect a compatible bluetooth dongle, and click on "Yes".
- As requested, connect a Dualshock 4 with a micro USB cable, and click on "Yes".
- Select the pairing to use and click on "Validate".
- Connect the AVR USB board (e.g. Teensy 2.0) and click on "Yes".
- As requested, connect the AVR USB board to the PS4, and wait a few seconds.
- Connect the AVR USB board back to the computer, and click on "Yes".
- A new pairing should appear in the "Pairing" drop-down menu.
- Unplug the Dualshock 4.
- In the "Config" drop-down menu, select the configuration file to use.
- Click on "Start".
- Press on the PS button of the Dualshock 4.
- Play.
- Press Left Shift + Escape to quit.
Ubuntu oder Windows + DIY USB-Adapter
Controller Authentifizierung
- Xbox 360: it is required to have a genuine wired controller (the play and charge cable won't work) wired to the PC at startup. In Windows, the 360 controller has to be unplugged/replugged before each spoof attempt.
- Xbox One: it is required to have a genuine controller wired to the PC at startup. In Windows, the Xbox One controller has to be unplugged/replugged each time the AVR USB board or the console are power-cycled.
- PS4: it is required to have a genuine DS4 wired to the PC all the time.
Note: when using a console that requires authentication, make sure to turn off the controller before connecting it to the PC.
Verbindung
Das AVR USB-Board (z.B. Teensy, Arduino Leonardo, Micro Pro, etc.) an die Konsole anschliessen.
Den USB zu UAR-Adapter (z.B. CP2102, FT232RL, etc.) an den Computer anschliessen.
Start
- Konsole einschalten
- Adapter auswählen
- Seriellen Port auswählen
- Die zu verwendende Konfiguration auswählen
- Start anklicken
- Den PS-Knopf auf Playstation Konsolen, oder den Home Knopf auf XBOX Konsolen drücken
- Spielen
- Linke Shift + Escape Taste zum beenden von GIMX drücken