Difference between revisions of "Mouse Calibration"
(→Step-by-step instructions) |
(→Step-by-step instructions) |
||
| Line 28: | Line 28: | ||
# Press F6. Set the same value as the x dead zone value. | # Press F6. Set the same value as the x dead zone value. | ||
# Press F7. Set the dead zone shape value to "rectangle". If the sight moves, set the dead zone shape to "circle", and let it set to "rectangle" otherwise. | # Press F7. Set the dead zone shape value to "rectangle". If the sight moves, set the dead zone shape to "circle", and let it set to "rectangle" otherwise. | ||
| − | # Press F12 to start a translation test. | + | # Press F12 to start a translation test. The sight will move horizontally at different speeds in both left and right directions. A 1:1 translation means the sight should come back near the start point. If it doesn't, use F8 and the mouse wheel to change the x acceleration value. |
# Press F9. Set the same value as the x acceleration value. | # Press F9. Set the same value as the x acceleration value. | ||
# Press F3. Adjust the x sensitivity to your liking. | # Press F3. Adjust the x sensitivity to your liking. | ||
# Press F10 to start a circle test. Adjust the circle radius and speed (F10/F11 + mouse wheel) if necessary. The x/y ratio is properly set if the sight moves in a perfect circle. If it doesn't, adjust the x/y ratio using F4 and the mouse wheel. | # Press F10 to start a circle test. Adjust the circle radius and speed (F10/F11 + mouse wheel) if necessary. The x/y ratio is properly set if the sight moves in a perfect circle. If it doesn't, adjust the x/y ratio using F4 and the mouse wheel. | ||
# Press ctrl+F1 to save. | # Press ctrl+F1 to save. | ||
Revision as of 15:05, 21 June 2012
Contents
Before calibrating the mouse
Set the in-game sensitivity to the highest, and set the mouse dpi to the highest value.
Start calibration
Select Output>GUI in gimx-bluetooth or gimx-serial. Then start emuclient.
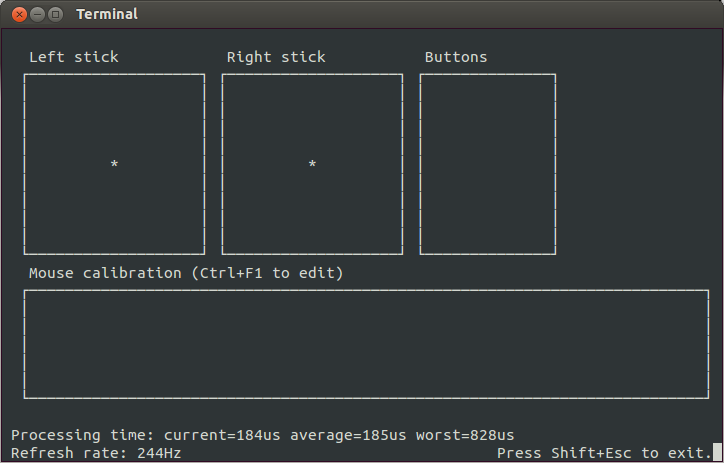
Current mouse calibration values appear in the "Mouse calibration" part of the gui.
This calibration mode reads values from the loaded configuration.
If you use multiple mouse, it lets you calibrate each mouse independently.
General instructions
Press ctrl+F1 to enable the calibration.
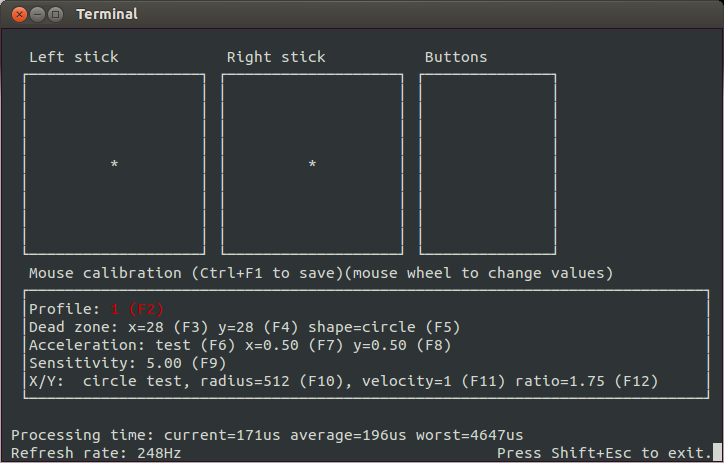
Press F1 ... F12 to select the parameter, and use the mouse wheel to change the value. Press ctrl+F1 to leave the calibration and save the parameters.
Step-by-step instructions
- Press ctrl+F1. If you use multiple mice, select the mouse to calibrate with the mouse wheel.
- Press F2 and select the profile to calibrate with the mouse wheel (generally, profile 1 is for hip fire, and profile 2 is for aiming down the sight).
- Press F5. If the sight moves, decrease the x dead zone value with the mouse wheel until the sight does not move. Once the sight does not move, increase the x dead zone until the first moving position.
- Press F6. Set the same value as the x dead zone value.
- Press F7. Set the dead zone shape value to "rectangle". If the sight moves, set the dead zone shape to "circle", and let it set to "rectangle" otherwise.
- Press F12 to start a translation test. The sight will move horizontally at different speeds in both left and right directions. A 1:1 translation means the sight should come back near the start point. If it doesn't, use F8 and the mouse wheel to change the x acceleration value.
- Press F9. Set the same value as the x acceleration value.
- Press F3. Adjust the x sensitivity to your liking.
- Press F10 to start a circle test. Adjust the circle radius and speed (F10/F11 + mouse wheel) if necessary. The x/y ratio is properly set if the sight moves in a perfect circle. If it doesn't, adjust the x/y ratio using F4 and the mouse wheel.
- Press ctrl+F1 to save.