Difference between revisions of "Installation/fr"
(Updating to match new version of source page) |
|||
| Line 1: | Line 1: | ||
<languages /> | <languages /> | ||
| + | {{Deprecated}} | ||
| + | |||
| + | <div class="mw-translate-fuzzy"> | ||
==Windows== | ==Windows== | ||
| + | </div> | ||
| + | <div class="mw-collapsible mw-collapsed"> | ||
| + | |||
| + | <div class="mw-translate-fuzzy"> | ||
===Téléchargement et installation de GIMX=== | ===Téléchargement et installation de GIMX=== | ||
* [https://gimx.fr/download/gimx-windows-32bits installeur 32-bit] | * [https://gimx.fr/download/gimx-windows-32bits installeur 32-bit] | ||
| Line 15: | Line 22: | ||
* Installer le driver libusbk comme expliqué ci-dessous. | * Installer le driver libusbk comme expliqué ci-dessous. | ||
Note: le fichier libusb-1.0.dll sera écrasé par les mises à jours de GIMX. Refaire les instructions ci-dessus pour continuer d'utiliser libusbk. | Note: le fichier libusb-1.0.dll sera écrasé par les mises à jours de GIMX. Refaire les instructions ci-dessus pour continuer d'utiliser libusbk. | ||
| + | </div> | ||
| + | * [https://gimx.fr/download/gimx-windows-32bits 32-bit setup], for 32-bit Windows only | ||
| + | * [https://gimx.fr/download/gimx-windows-64bits 64-bit setup], for 64-bit Windows only | ||
| + | Before installing GIMX: | ||
| + | * install all Windows updates (otherwise GIMX may refuse to install) | ||
| + | * create a system restore point, in case something goes wrong (USBDK was known to create instability on some systems) | ||
| + | LibusbK can be used as an alternative to USBDK. | ||
| + | |||
| + | <div class="mw-collapsible mw-collapsed"> | ||
| + | |||
| + | '''(not recommended)''' | ||
| + | |||
| + | * Rename the libusb-1.0.dll file from the C:\Program Files\GIMX folder to libusb-1.0.dll.bk. | ||
| + | * Download this libusb package: [http://sourceforge.net/projects/msys2/files/REPOS/MINGW_GCC_4_9/x86_64/mingw-w64-x86_64-libusb-1.0.19-2-any.pkg.tar.xz/download link]. | ||
| + | * Open it (with [http://www.7-zip.org/ 7zip] for example) and extract the libusb-1.0.dll file from the /mingw64/bin/ folder to the C:\Program Files\GIMX folder. | ||
| + | * Install the libusbk driver as explained below. | ||
| + | Note: the libusb-1.0.dll file will be replaced after updating GIMX. Perform the above steps again to keep using libusbK. | ||
| + | </div> | ||
| + | |||
| + | <div class="mw-translate-fuzzy"> | ||
===Installation du driver libusbk (pour Xbox One uniquement)=== | ===Installation du driver libusbk (pour Xbox One uniquement)=== | ||
Le driver par défaut du contrôleur doit être remplacé par le driver libusbk.<br /> | Le driver par défaut du contrôleur doit être remplacé par le driver libusbk.<br /> | ||
| Line 30: | Line 57: | ||
* cliquez sur le menu déroulant et sélectionnez "Install Driver" | * cliquez sur le menu déroulant et sélectionnez "Install Driver" | ||
* cliquez sur "Replace Driver" | * cliquez sur "Replace Driver" | ||
| + | </div> | ||
| + | |||
| + | It is required to replace the stock controller driver with the libusbk driver.<br /> | ||
| + | This prevents Windows from making any request to the controller.<br /> | ||
| + | This can easily be done using [http://zadig.akeo.ie/ Zadig]: | ||
| + | * choose "Options->List All Devices" | ||
| + | * select the right device: | ||
| + | {| class="wikitable" | ||
| + | | Console || Device name || USB ID | ||
| + | |- | ||
| + | | Xbox One || "Controller" || 045E:02D1 | ||
| + | |} | ||
| + | * select "libusbK" as target driver | ||
| + | * click on the drop down menu, and select "Install Driver" | ||
| + | * click on "Replace Driver" | ||
| + | <div class="mw-translate-fuzzy"> | ||
===Désactivation de l'économie d'énergie pour les périphériques USB=== | ===Désactivation de l'économie d'énergie pour les périphériques USB=== | ||
| + | </div> | ||
Ceci est nécessaire afin d'empêcher Windows d'éteindre le contrôleur ou le convertisseur USB série.<br /> | Ceci est nécessaire afin d'empêcher Windows d'éteindre le contrôleur ou le convertisseur USB série.<br /> | ||
| Line 38: | Line 82: | ||
Cliquer droit sur le port COM > Propriétés > Gestion de l'énergie > Désactiver "Autoriser l'ordinateur à éteindre ce périphérique pour économiser de l'énergie". | Cliquer droit sur le port COM > Propriétés > Gestion de l'énergie > Désactiver "Autoriser l'ordinateur à éteindre ce périphérique pour économiser de l'énergie". | ||
| + | </div> | ||
| + | |||
| + | <div class="mw-translate-fuzzy"> | ||
==Ubuntu== | ==Ubuntu== | ||
| + | </div> | ||
| − | < | + | <div class="mw-collapsible mw-collapsed"> |
| + | |||
| + | <div class="mw-translate-fuzzy"> | ||
===Ajouter "universe" aux sources de logiciels=== | ===Ajouter "universe" aux sources de logiciels=== | ||
* Démarrer la logithèque Ubuntu. | * Démarrer la logithèque Ubuntu. | ||
| Line 48: | Line 98: | ||
* Selectionner "Logiciels maintenus par la communauté (universe)", et fermer. | * Selectionner "Logiciels maintenus par la communauté (universe)", et fermer. | ||
:<div class="image200px">[http://gimx.fr/img/screenshots/tuto/1.1_3_universe.jpg http://gimx.fr/img/screenshots/tuto/1.1_3_universe.jpg]</div> | :<div class="image200px">[http://gimx.fr/img/screenshots/tuto/1.1_3_universe.jpg http://gimx.fr/img/screenshots/tuto/1.1_3_universe.jpg]</div> | ||
| − | </ | + | </div> |
| − | < | + | * Start Ubuntu Software Center. |
| + | :<div class="image200px">[https://gimx.fr/img/screenshots/tuto/1.1_1_software_center_icon.jpg https://gimx.fr/img/screenshots/tuto/1.1_1_software_center_icon.jpg]</div> | ||
| + | * Click Edit>Software Sources. | ||
| + | :<div class="image200px">[https://gimx.fr/img/screenshots/tuto/1.1_2_edit_software_sources.jpg https://gimx.fr/img/screenshots/tuto/1.1_2_edit_software_sources.jpg]</div> | ||
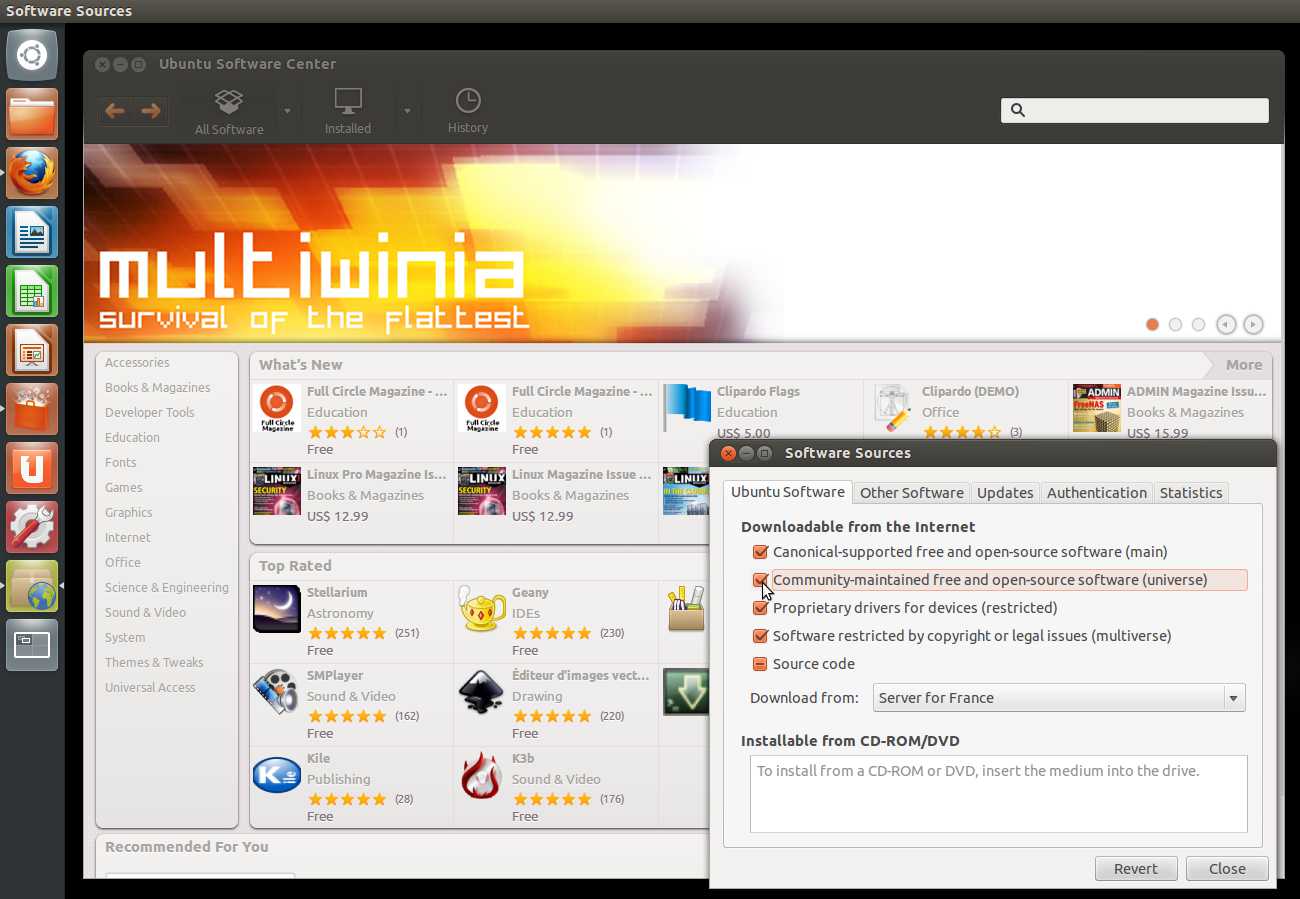
| + | * Select "Community-maintained Open Source software (universe)", and close. | ||
| + | :<div class="image200px">[https://gimx.fr/img/screenshots/tuto/1.1_3_universe.jpg https://gimx.fr/img/screenshots/tuto/1.1_3_universe.jpg]</div> | ||
| + | |||
| + | <div class="mw-translate-fuzzy"> | ||
===Rafraîchir les sources de logiciels=== | ===Rafraîchir les sources de logiciels=== | ||
Si vous exécutez GIMX depuis un Live CD ou Live USB, vous devez rafraîchir manuellement les sources de logiciels: | Si vous exécutez GIMX depuis un Live CD ou Live USB, vous devez rafraîchir manuellement les sources de logiciels: | ||
| Line 60: | Line 117: | ||
:<div class="image200px">[http://gimx.fr/img/screenshots/tuto/1.1_6_apt_get_update.jpg http://gimx.fr/img/screenshots/tuto/1.1_6_apt_get_update.jpg]</div> | :<div class="image200px">[http://gimx.fr/img/screenshots/tuto/1.1_6_apt_get_update.jpg http://gimx.fr/img/screenshots/tuto/1.1_6_apt_get_update.jpg]</div> | ||
:<div class="image200px">[http://gimx.fr/img/screenshots/tuto/1.1_7_update_ok.jpg http://gimx.fr/img/screenshots/tuto/1.1_7_update_ok.jpg]</div> | :<div class="image200px">[http://gimx.fr/img/screenshots/tuto/1.1_7_update_ok.jpg http://gimx.fr/img/screenshots/tuto/1.1_7_update_ok.jpg]</div> | ||
| − | </ | + | </div> |
| + | If you are running from a Live CD or a Live USB, you have to manually refresh software sources: | ||
| + | * Click on the Ubuntu desk. | ||
| + | :<div class="image200px">[https://gimx.fr/img/screenshots/tuto/1.1_4_ubuntu_desk.jpg https://gimx.fr/img/screenshots/tuto/1.1_4_ubuntu_desk.jpg]</div> | ||
| + | * In the search area, type "terminal" with no quotes, and hit enter. | ||
| + | :<div class="image200px">[https://gimx.fr/img/screenshots/tuto/1.1_5_search_terminal.jpg https://gimx.fr/img/screenshots/tuto/1.1_5_search_terminal.jpg]</div> | ||
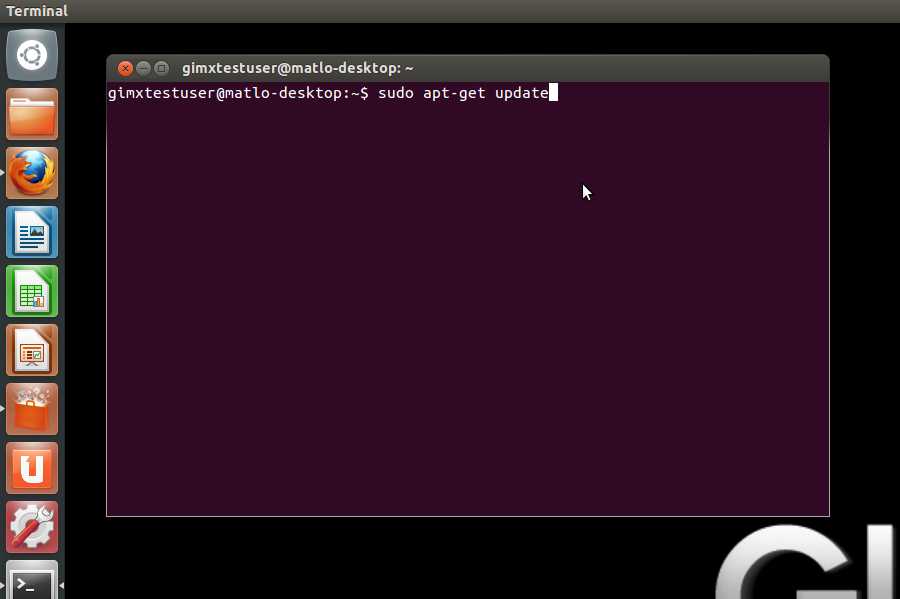
| + | * In the terminal, type "sudo apt-get update" with no quotes, and hit enter. | ||
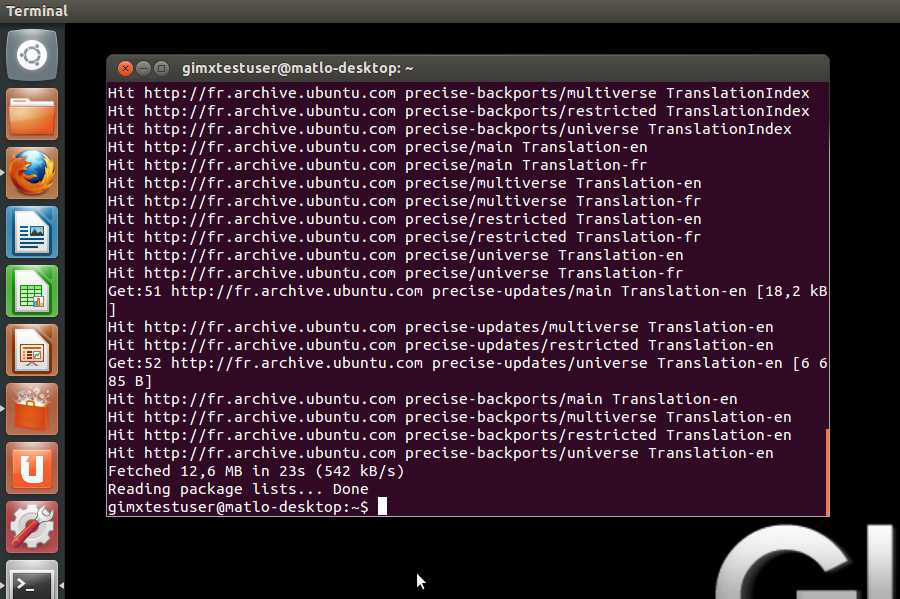
| + | :<div class="image200px">[https://gimx.fr/img/screenshots/tuto/1.1_6_apt_get_update.jpg https://gimx.fr/img/screenshots/tuto/1.1_6_apt_get_update.jpg]</div> | ||
| + | :<div class="image200px">[https://gimx.fr/img/screenshots/tuto/1.1_7_update_ok.jpg https://gimx.fr/img/screenshots/tuto/1.1_7_update_ok.jpg]</div> | ||
| + | |||
| + | <div class="mw-translate-fuzzy"> | ||
===Télécharger le fichier .deb=== | ===Télécharger le fichier .deb=== | ||
* Télécharger le fichier .deb : [http://gimx.fr/download/gimx-ubuntu-32bits 32bits] ou [http://gimx.fr/download/gimx-ubuntu-64bits 64bits] | * Télécharger le fichier .deb : [http://gimx.fr/download/gimx-ubuntu-32bits 32bits] ou [http://gimx.fr/download/gimx-ubuntu-64bits 64bits] | ||
* L'installer (double clic, puis installer). | * L'installer (double clic, puis installer). | ||
| + | </div> | ||
| + | |||
| + | * Downloard the .deb file: [http://gimx.fr/download/gimx-ubuntu-32bits 32bits] or [http://gimx.fr/download/gimx-ubuntu-64bits 64bits] | ||
| + | * Install it (double click, then install). | ||
| + | |||
| + | </div> | ||
| + | |||
| + | =Next Tutorial= | ||
| + | Now that GIMX is installed you can follow the instructions on the [[Quick_Start|Quick Start page]]. | ||
Latest revision as of 22:51, 31 August 2018
| This page is deprecated. It is kept for archival purposes. Please visit to the current main page to see the latest documentation. |
Contents
Windows
Téléchargement et installation de GIMX
L'installeur inclut les installeurs suivants:
- driver CP210x - requis pour l'utilisation d'un adaptateur USB - série CP2102
- driver USBDK - requis pour les consoles qui nécessitent une authentification du contrôleur
USBDK peut rendre instable certains systèmes, il est donc conseillé de créer un point de restauration du système avant de l'installer.
Libusbk peut être utilisé à la place. Suivre les instructions suivantes pour l'utiliser:
- Renommer le fichier libusb-1.0.dll du répertoire C:\Program Files\GIMX en libusb-1.0.dll.bk.
- Télécharger le package libusb suivant : lien.
- L'ouvrir (avec 7zip par exemple) et extraire le fichier libusb-1.0.dll depuis le répertoire /mingw64/bin/ vers le répertoire C:\Program Files\GIMX.
- Installer le driver libusbk comme expliqué ci-dessous.
Note: le fichier libusb-1.0.dll sera écrasé par les mises à jours de GIMX. Refaire les instructions ci-dessus pour continuer d'utiliser libusbk.
- 32-bit setup, for 32-bit Windows only
- 64-bit setup, for 64-bit Windows only
Before installing GIMX:
- install all Windows updates (otherwise GIMX may refuse to install)
- create a system restore point, in case something goes wrong (USBDK was known to create instability on some systems)
LibusbK can be used as an alternative to USBDK.
(not recommended)
- Rename the libusb-1.0.dll file from the C:\Program Files\GIMX folder to libusb-1.0.dll.bk.
- Download this libusb package: link.
- Open it (with 7zip for example) and extract the libusb-1.0.dll file from the /mingw64/bin/ folder to the C:\Program Files\GIMX folder.
- Install the libusbk driver as explained below.
Note: the libusb-1.0.dll file will be replaced after updating GIMX. Perform the above steps again to keep using libusbK.
Installation du driver libusbk (pour Xbox One uniquement)
Le driver par défaut du contrôleur doit être remplacé par le driver libusbk.
Ceci empêche Windows d'envoyer des requêtes au contrôleur.
Cela peut se faire simplement à l'aide de Zadig:
- choisissez "Options->List All Devices"
- sélectionnez le bon périphérique :
| Console | Nom du périphérique | USB ID |
| Xbox One | "Controller" | 045E:02D1 |
- sélectionnez "libusbK" comme driver cible
- cliquez sur le menu déroulant et sélectionnez "Install Driver"
- cliquez sur "Replace Driver"
It is required to replace the stock controller driver with the libusbk driver.
This prevents Windows from making any request to the controller.
This can easily be done using Zadig:
- choose "Options->List All Devices"
- select the right device:
| Console | Device name | USB ID |
| Xbox One | "Controller" | 045E:02D1 |
- select "libusbK" as target driver
- click on the drop down menu, and select "Install Driver"
- click on "Replace Driver"
Désactivation de l'économie d'énergie pour les périphériques USB
Ceci est nécessaire afin d'empêcher Windows d'éteindre le contrôleur ou le convertisseur USB série.
Ouvrir le gestionnaire de périphériques.
Cliquer droit sur le HUB USB (s'assurer de sélectionner le bon) > Propriétés > Gestion de l'énergie > Désactiver "Autoriser l'ordinateur à éteindre ce périphérique pour économiser de l'énergie".
Cliquer droit sur le port COM > Propriétés > Gestion de l'énergie > Désactiver "Autoriser l'ordinateur à éteindre ce périphérique pour économiser de l'énergie".
Ubuntu
Ajouter "universe" aux sources de logiciels
- Démarrer la logithèque Ubuntu.
- Cliquer sur Édition>Sources de logiciels.
- Selectionner "Logiciels maintenus par la communauté (universe)", et fermer.
- Start Ubuntu Software Center.
- Click Edit>Software Sources.
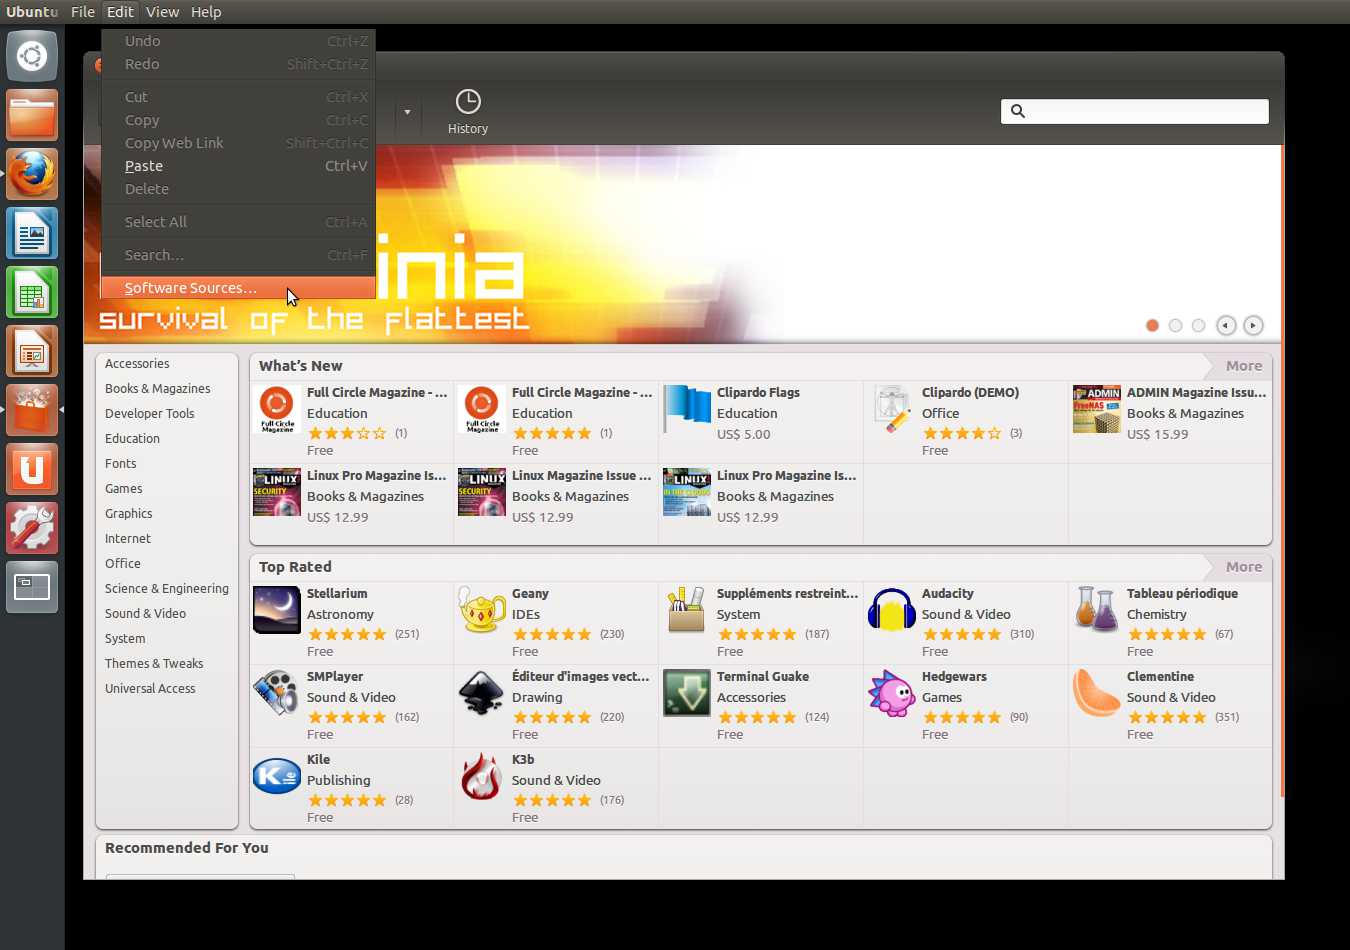
- Select "Community-maintained Open Source software (universe)", and close.
Rafraîchir les sources de logiciels
Si vous exécutez GIMX depuis un Live CD ou Live USB, vous devez rafraîchir manuellement les sources de logiciels:
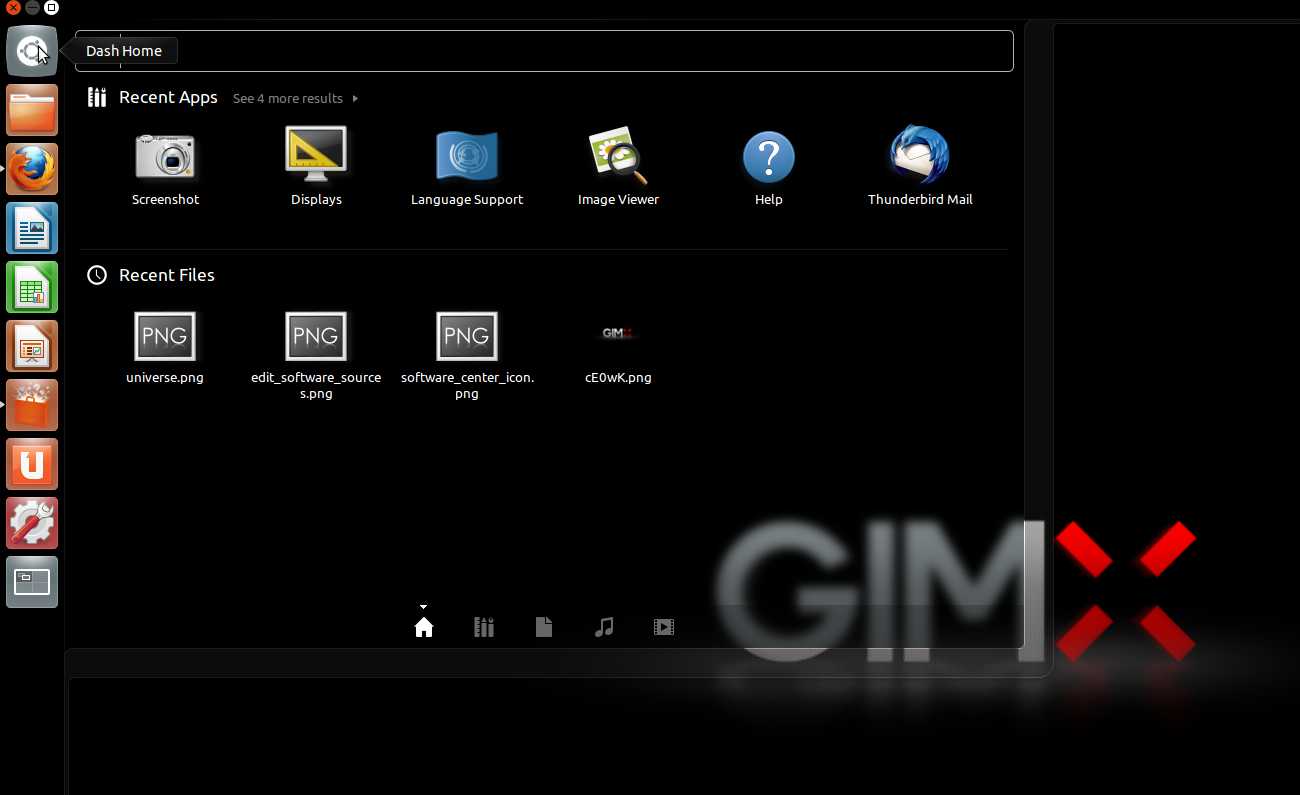
- Cliquer sur le desk Ubuntu.
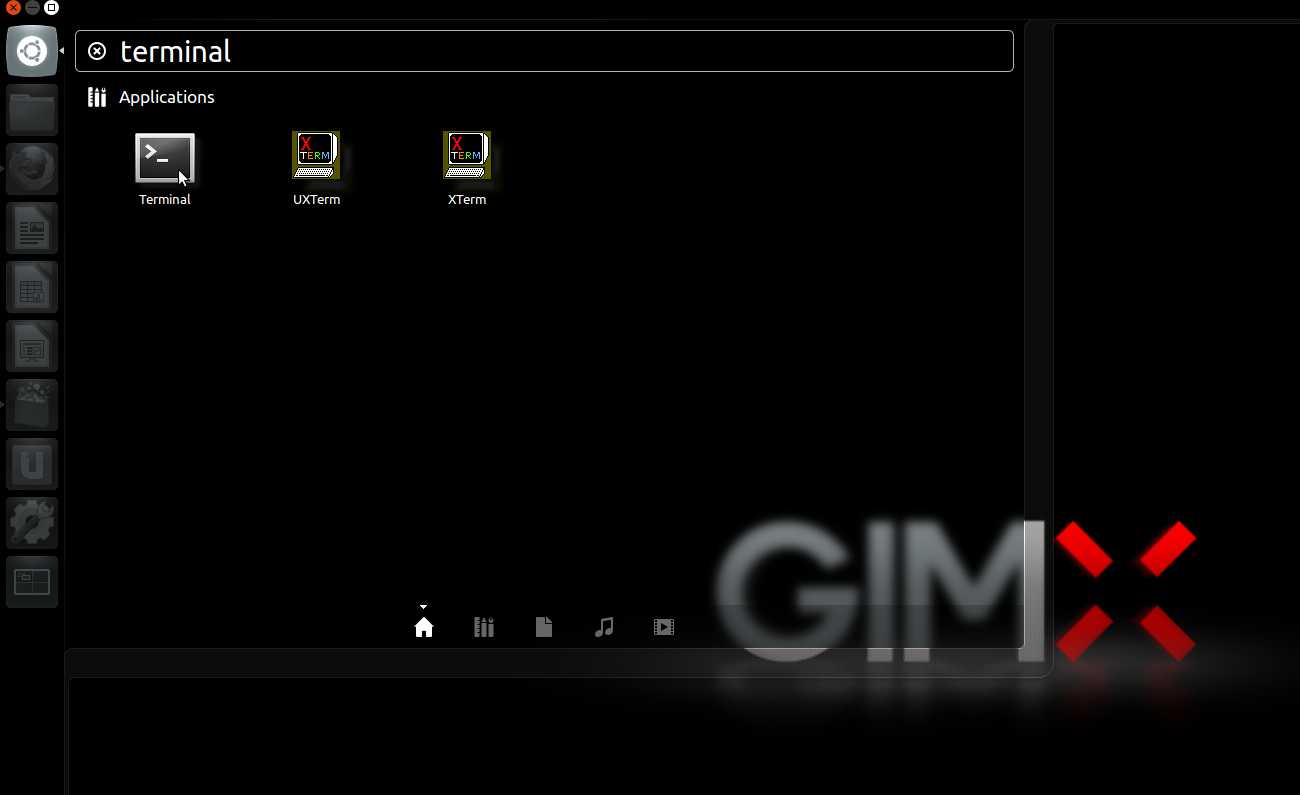
- Dans la zone de recherche, taper "terminal" sans guillemets, et taper entrée.
- Dans le terminal, taper "sudo apt-get update" sans guillemets, et taper entrée.
If you are running from a Live CD or a Live USB, you have to manually refresh software sources:
- Click on the Ubuntu desk.
- In the search area, type "terminal" with no quotes, and hit enter.
- In the terminal, type "sudo apt-get update" with no quotes, and hit enter.
Télécharger le fichier .deb
Next Tutorial
Now that GIMX is installed you can follow the instructions on the Quick Start page.