Difference between revisions of "Installation/en"
(Updating to match new version of source page) |
(Updating to match new version of source page) |
||
| Line 1: | Line 1: | ||
<languages /> | <languages /> | ||
| − | == | + | {{Deprecated}} |
| + | |||
| + | =Windows= | ||
| + | |||
| + | <div class="mw-collapsible mw-collapsed"> | ||
| + | |||
| + | ==Download and install the GIMX setup file== | ||
| − | |||
* [https://gimx.fr/download/gimx-windows-32bits 32-bit setup], for 32-bit Windows only | * [https://gimx.fr/download/gimx-windows-32bits 32-bit setup], for 32-bit Windows only | ||
* [https://gimx.fr/download/gimx-windows-64bits 64-bit setup], for 64-bit Windows only | * [https://gimx.fr/download/gimx-windows-64bits 64-bit setup], for 64-bit Windows only | ||
| − | + | Before installing GIMX: | |
| − | * | + | * install all Windows updates (otherwise GIMX may refuse to install) |
| − | * | + | * create a system restore point, in case something goes wrong (USBDK was known to create instability on some systems) |
| − | + | LibusbK can be used as an alternative to USBDK. | |
| − | LibusbK can be used as an alternative. | + | |
| + | <div class="mw-collapsible mw-collapsed"> | ||
| + | |||
| + | '''(not recommended)''' | ||
| + | |||
* Rename the libusb-1.0.dll file from the C:\Program Files\GIMX folder to libusb-1.0.dll.bk. | * Rename the libusb-1.0.dll file from the C:\Program Files\GIMX folder to libusb-1.0.dll.bk. | ||
* Download this libusb package: [http://sourceforge.net/projects/msys2/files/REPOS/MINGW_GCC_4_9/x86_64/mingw-w64-x86_64-libusb-1.0.19-2-any.pkg.tar.xz/download link]. | * Download this libusb package: [http://sourceforge.net/projects/msys2/files/REPOS/MINGW_GCC_4_9/x86_64/mingw-w64-x86_64-libusb-1.0.19-2-any.pkg.tar.xz/download link]. | ||
| Line 15: | Line 24: | ||
* Install the libusbk driver as explained below. | * Install the libusbk driver as explained below. | ||
Note: the libusb-1.0.dll file will be replaced after updating GIMX. Perform the above steps again to keep using libusbK. | Note: the libusb-1.0.dll file will be replaced after updating GIMX. Perform the above steps again to keep using libusbK. | ||
| + | </div> | ||
| + | |||
| + | ==Install the libusbk driver (Xbox One only)== | ||
| − | |||
It is required to replace the stock controller driver with the libusbk driver.<br /> | It is required to replace the stock controller driver with the libusbk driver.<br /> | ||
This prevents Windows from making any request to the controller.<br /> | This prevents Windows from making any request to the controller.<br /> | ||
| Line 31: | Line 42: | ||
* click on "Replace Driver" | * click on "Replace Driver" | ||
| − | + | ==Disable power saving for USB devices== | |
This is required to prevent Windows from turning off the controller or the USB to UART adapter.<br /> | This is required to prevent Windows from turning off the controller or the USB to UART adapter.<br /> | ||
| Line 38: | Line 49: | ||
Right click on the COM port > Properties > Power management > Uncheck "Allow the computer to turn off this device to save power". | Right click on the COM port > Properties > Power management > Uncheck "Allow the computer to turn off this device to save power". | ||
| − | == | + | </div> |
| + | |||
| + | =Ubuntu= | ||
| + | |||
| + | <div class="mw-collapsible mw-collapsed"> | ||
| + | |||
| + | ==Add "universe" to your software sources== | ||
| − | |||
* Start Ubuntu Software Center. | * Start Ubuntu Software Center. | ||
:<div class="image200px">[https://gimx.fr/img/screenshots/tuto/1.1_1_software_center_icon.jpg https://gimx.fr/img/screenshots/tuto/1.1_1_software_center_icon.jpg]</div> | :<div class="image200px">[https://gimx.fr/img/screenshots/tuto/1.1_1_software_center_icon.jpg https://gimx.fr/img/screenshots/tuto/1.1_1_software_center_icon.jpg]</div> | ||
| Line 48: | Line 64: | ||
:<div class="image200px">[https://gimx.fr/img/screenshots/tuto/1.1_3_universe.jpg https://gimx.fr/img/screenshots/tuto/1.1_3_universe.jpg]</div> | :<div class="image200px">[https://gimx.fr/img/screenshots/tuto/1.1_3_universe.jpg https://gimx.fr/img/screenshots/tuto/1.1_3_universe.jpg]</div> | ||
| − | + | ==Refresh software sources== | |
| + | |||
If you are running from a Live CD or a Live USB, you have to manually refresh software sources: | If you are running from a Live CD or a Live USB, you have to manually refresh software sources: | ||
* Click on the Ubuntu desk. | * Click on the Ubuntu desk. | ||
| Line 58: | Line 75: | ||
:<div class="image200px">[https://gimx.fr/img/screenshots/tuto/1.1_7_update_ok.jpg https://gimx.fr/img/screenshots/tuto/1.1_7_update_ok.jpg]</div> | :<div class="image200px">[https://gimx.fr/img/screenshots/tuto/1.1_7_update_ok.jpg https://gimx.fr/img/screenshots/tuto/1.1_7_update_ok.jpg]</div> | ||
| − | + | ==Download the .deb file== | |
| + | |||
* Downloard the .deb file: [http://gimx.fr/download/gimx-ubuntu-32bits 32bits] or [http://gimx.fr/download/gimx-ubuntu-64bits 64bits] | * Downloard the .deb file: [http://gimx.fr/download/gimx-ubuntu-32bits 32bits] or [http://gimx.fr/download/gimx-ubuntu-64bits 64bits] | ||
* Install it (double click, then install). | * Install it (double click, then install). | ||
| + | |||
| + | </div> | ||
| + | |||
| + | =Next Tutorial= | ||
| + | Now that GIMX is installed you can follow the instructions on the [[Quick_Start|Quick Start page]]. | ||
Latest revision as of 22:51, 31 August 2018
| This page is deprecated. It is kept for archival purposes. Please visit to the current main page to see the latest documentation. |
Contents
Windows
Download and install the GIMX setup file
- 32-bit setup, for 32-bit Windows only
- 64-bit setup, for 64-bit Windows only
Before installing GIMX:
- install all Windows updates (otherwise GIMX may refuse to install)
- create a system restore point, in case something goes wrong (USBDK was known to create instability on some systems)
LibusbK can be used as an alternative to USBDK.
(not recommended)
- Rename the libusb-1.0.dll file from the C:\Program Files\GIMX folder to libusb-1.0.dll.bk.
- Download this libusb package: link.
- Open it (with 7zip for example) and extract the libusb-1.0.dll file from the /mingw64/bin/ folder to the C:\Program Files\GIMX folder.
- Install the libusbk driver as explained below.
Note: the libusb-1.0.dll file will be replaced after updating GIMX. Perform the above steps again to keep using libusbK.
Install the libusbk driver (Xbox One only)
It is required to replace the stock controller driver with the libusbk driver.
This prevents Windows from making any request to the controller.
This can easily be done using Zadig:
- choose "Options->List All Devices"
- select the right device:
| Console | Device name | USB ID |
| Xbox One | "Controller" | 045E:02D1 |
- select "libusbK" as target driver
- click on the drop down menu, and select "Install Driver"
- click on "Replace Driver"
Disable power saving for USB devices
This is required to prevent Windows from turning off the controller or the USB to UART adapter.
Open the Device Manager.
Right click on the USB HUB (make sure to select the right one) > Properties > Power management > Uncheck "Allow the computer to turn off this device to save power".
Right click on the COM port > Properties > Power management > Uncheck "Allow the computer to turn off this device to save power".
Ubuntu
Add "universe" to your software sources
- Start Ubuntu Software Center.
- Click Edit>Software Sources.
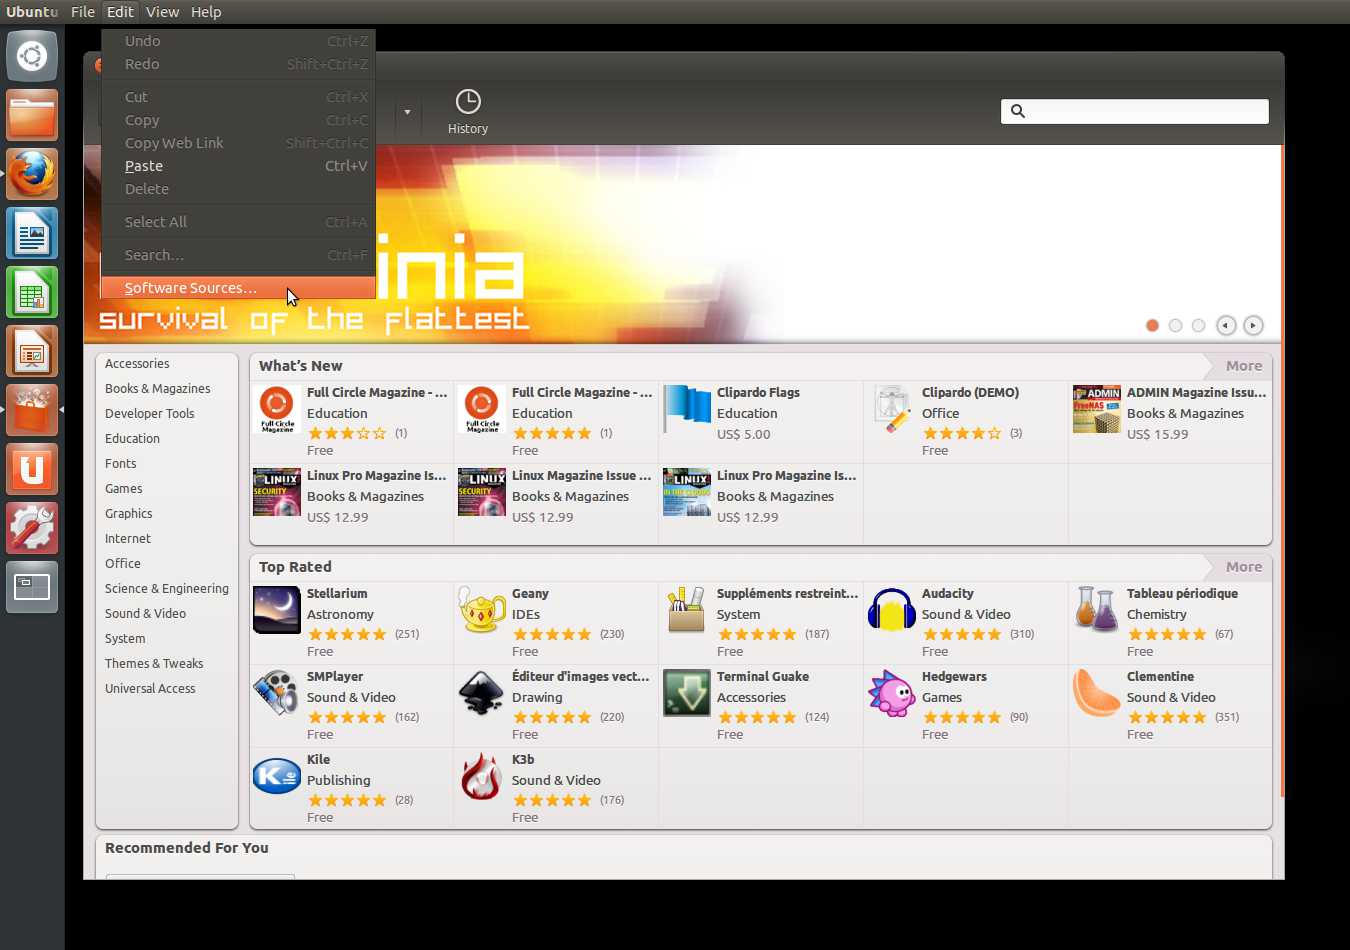
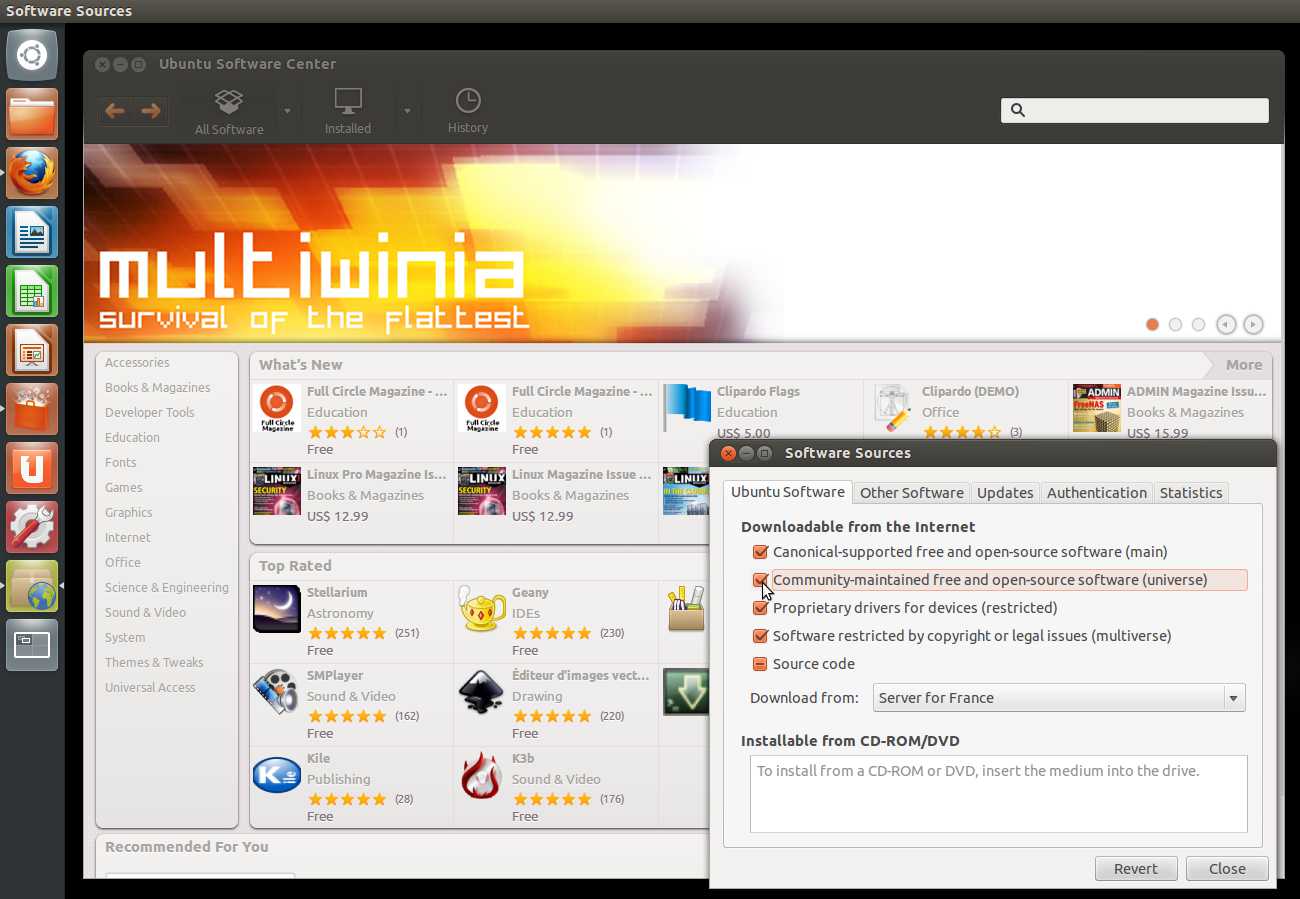
- Select "Community-maintained Open Source software (universe)", and close.
Refresh software sources
If you are running from a Live CD or a Live USB, you have to manually refresh software sources:
- Click on the Ubuntu desk.
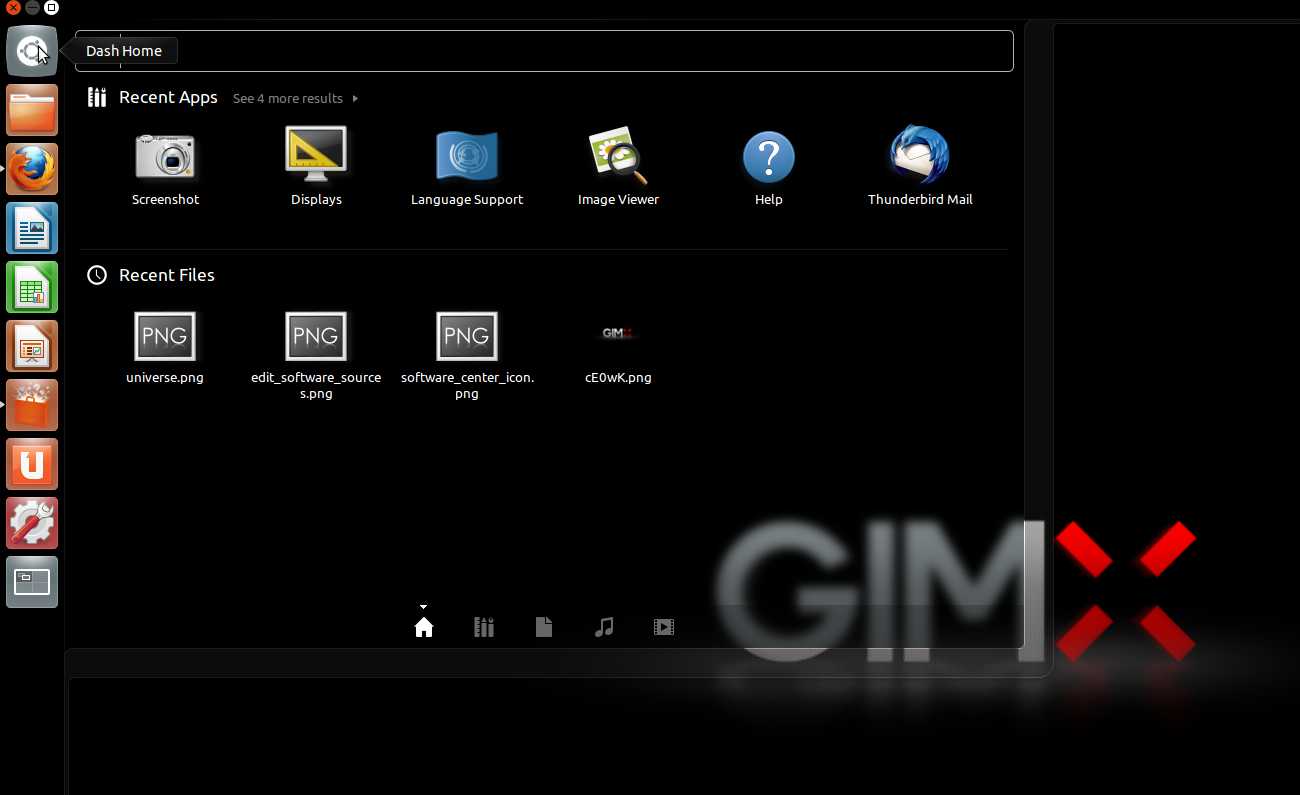
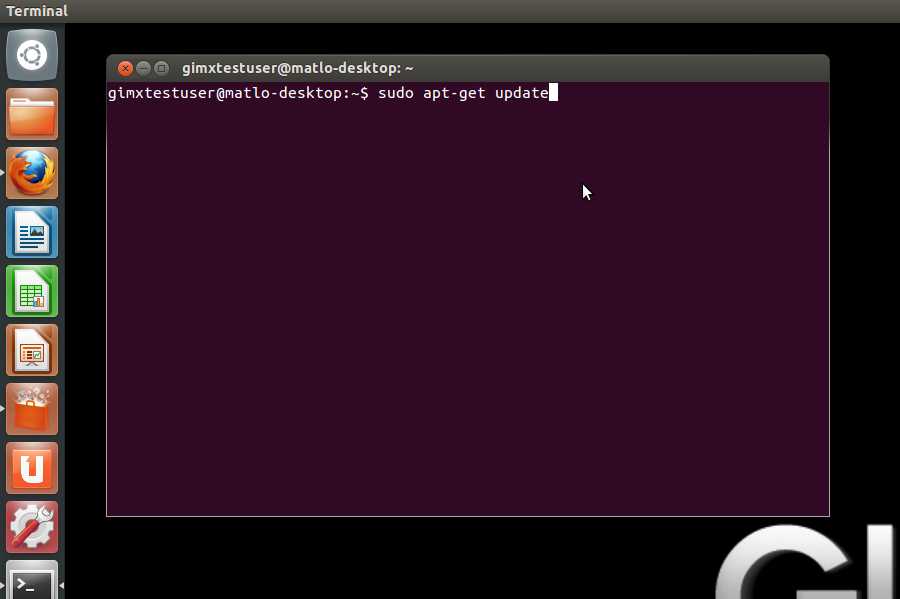
- In the search area, type "terminal" with no quotes, and hit enter.
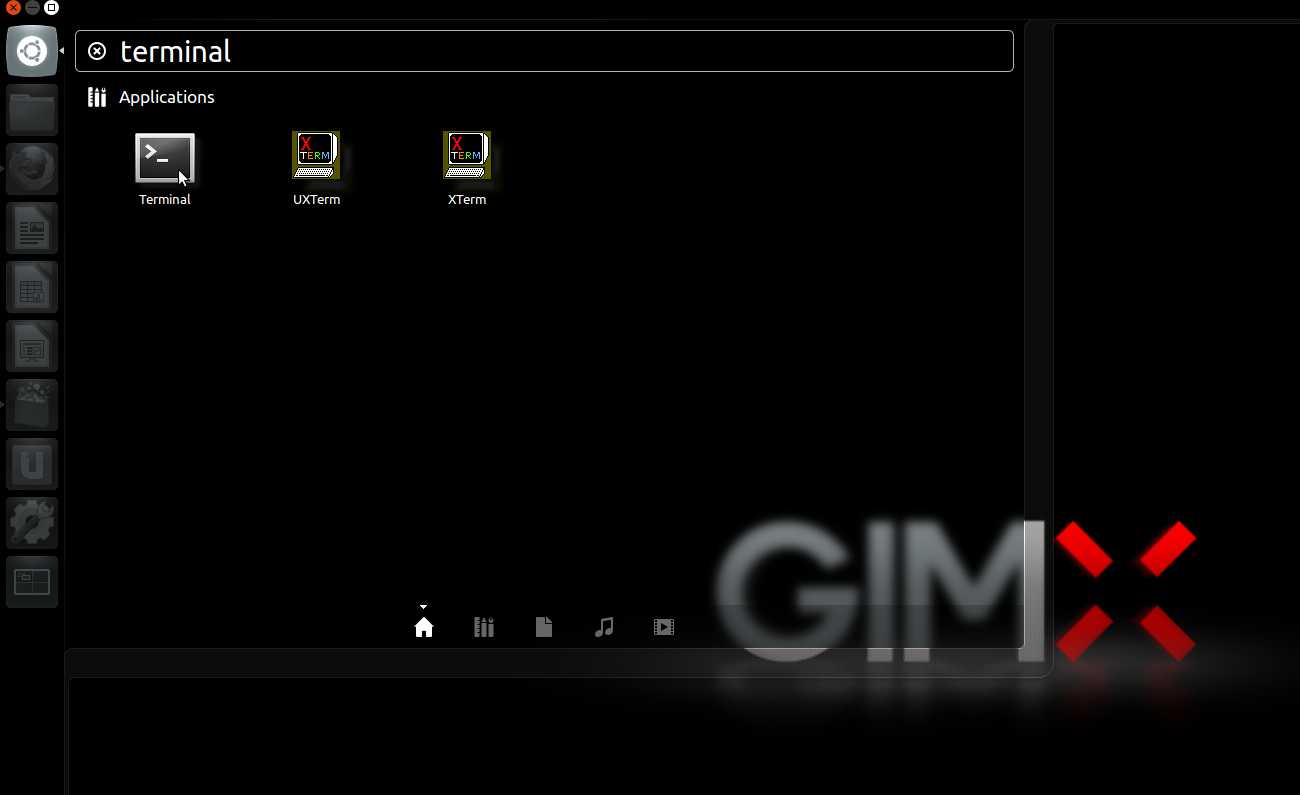
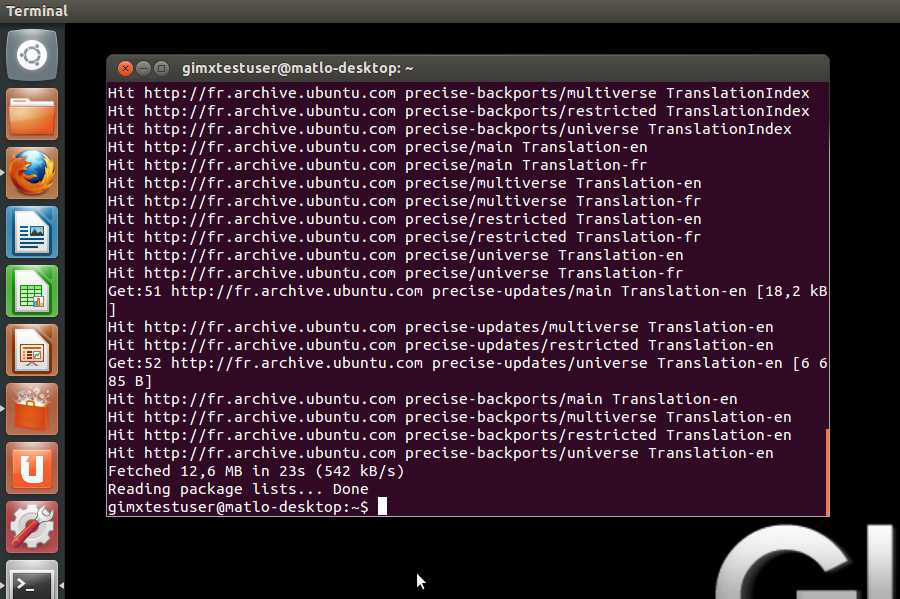
- In the terminal, type "sudo apt-get update" with no quotes, and hit enter.
Download the .deb file
Next Tutorial
Now that GIMX is installed you can follow the instructions on the Quick Start page.