|
|
(33 intermediate revisions by 2 users not shown)
|
| Line 1: |
Line 1: |
| | <languages /> | | <languages /> |
| | <translate> | | <translate> |
| − | ==Windows== <!--T:1-->
| + | <!--T:11--> |
| | + | {{Deprecated}} |
| | | | |
| − | <!--T:2--> | + | =Windows= <!--T:1--> |
| − | * Download [http://gimx.fr/download/CP210x_VCP_Windows the CP2102 drivers ] and install (mandatory).
| |
| − | * Download [http://gimx.fr/download/gimx-windows.html the GIMX setup file] and install.
| |
| | | | |
| − | ==Ubuntu== <!--T:3-->
| + | <!--T:12--> |
| | + | <div class="mw-collapsible mw-collapsed"> |
| | | | |
| − | <!--T:4--> | + | ==Download and install the GIMX setup file== <!--T:2--> |
| − | Note: there is a latency issue with GIMX+bluetooth running on latest Ubuntu versions.<br/>
| |
| − | If you get such a latency, use Ubuntu [http://releases.ubuntu.com/11.10/ 11.10] and [http://code.google.com/p/diyps3controller/downloads/list?can=1&q=0.51 GIMX 0.51].
| |
| | | | |
| − | ===Add "universe" to your software sources=== <!--T:5--> | + | <!--T:13--> |
| | + | * [https://gimx.fr/download/gimx-windows-32bits 32-bit setup], for 32-bit Windows only |
| | + | * [https://gimx.fr/download/gimx-windows-64bits 64-bit setup], for 64-bit Windows only |
| | + | Before installing GIMX: |
| | + | * install all Windows updates (otherwise GIMX may refuse to install) |
| | + | * create a system restore point, in case something goes wrong (USBDK was known to create instability on some systems) |
| | + | LibusbK can be used as an alternative to USBDK. |
| | + | |
| | + | <!--T:14--> |
| | + | <div class="mw-collapsible mw-collapsed"> |
| | + | |
| | + | <!--T:15--> |
| | + | '''(not recommended)''' |
| | + | |
| | + | <!--T:16--> |
| | + | * Rename the libusb-1.0.dll file from the C:\Program Files\GIMX folder to libusb-1.0.dll.bk. |
| | + | * Download this libusb package: [http://sourceforge.net/projects/msys2/files/REPOS/MINGW_GCC_4_9/x86_64/mingw-w64-x86_64-libusb-1.0.19-2-any.pkg.tar.xz/download link]. |
| | + | * Open it (with [http://www.7-zip.org/ 7zip] for example) and extract the libusb-1.0.dll file from the /mingw64/bin/ folder to the C:\Program Files\GIMX folder. |
| | + | * Install the libusbk driver as explained below. |
| | + | Note: the libusb-1.0.dll file will be replaced after updating GIMX. Perform the above steps again to keep using libusbK. |
| | + | </div> |
| | + | |
| | + | ==Install the libusbk driver (Xbox One only)== <!--T:8--> |
| | + | |
| | + | <!--T:17--> |
| | + | It is required to replace the stock controller driver with the libusbk driver.<br /> |
| | + | This prevents Windows from making any request to the controller.<br /> |
| | + | This can easily be done using [http://zadig.akeo.ie/ Zadig]: |
| | + | * choose "Options->List All Devices" |
| | + | * select the right device: |
| | + | {| class="wikitable" |
| | + | | Console || Device name || USB ID |
| | + | |- |
| | + | | Xbox One || "Controller" || 045E:02D1 |
| | + | |} |
| | + | * select "libusbK" as target driver |
| | + | * click on the drop down menu, and select "Install Driver" |
| | + | * click on "Replace Driver" |
| | + | |
| | + | ==Disable power saving for USB devices== <!--T:9--> |
| | + | |
| | + | <!--T:10--> |
| | + | This is required to prevent Windows from turning off the controller or the USB to UART adapter.<br /> |
| | + | Open the Device Manager.<br /> |
| | + | Right click on the USB HUB (make sure to select the right one) > Properties > Power management > Uncheck "Allow the computer to turn off this device to save power".<br /> |
| | + | Right click on the COM port > Properties > Power management > Uncheck "Allow the computer to turn off this device to save power". |
| | + | |
| | + | <!--T:18--> |
| | + | </div> |
| | + | |
| | + | =Ubuntu= <!--T:3--> |
| | + | |
| | + | <!--T:19--> |
| | + | <div class="mw-collapsible mw-collapsed"> |
| | + | |
| | + | ==Add "universe" to your software sources== <!--T:5--> |
| | + | |
| | + | <!--T:20--> |
| | * Start Ubuntu Software Center. | | * Start Ubuntu Software Center. |
| − | :<div class="image200px">[http://gimx.fr/img/screenshots/tuto/1.1_1_software_center_icon.jpg http://gimx.fr/img/screenshots/tuto/1.1_1_software_center_icon.jpg]</div> | + | :<div class="image200px">[https://gimx.fr/img/screenshots/tuto/1.1_1_software_center_icon.jpg https://gimx.fr/img/screenshots/tuto/1.1_1_software_center_icon.jpg]</div> |
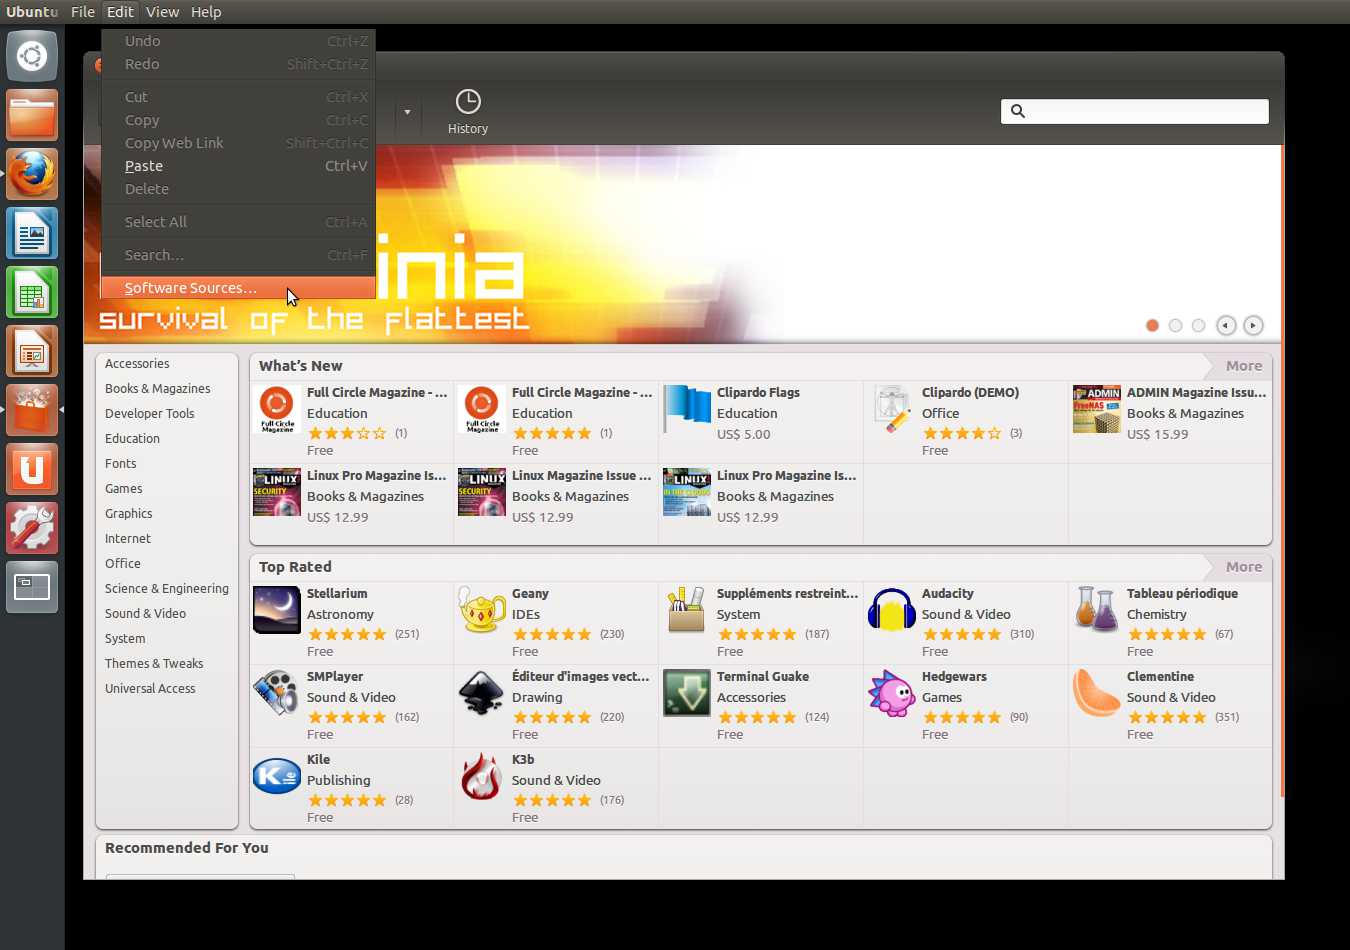
| | * Click Edit>Software Sources. | | * Click Edit>Software Sources. |
| − | :<div class="image200px">[http://gimx.fr/img/screenshots/tuto/1.1_2_edit_software_sources.jpg http://gimx.fr/img/screenshots/tuto/1.1_2_edit_software_sources.jpg]</div> | + | :<div class="image200px">[https://gimx.fr/img/screenshots/tuto/1.1_2_edit_software_sources.jpg https://gimx.fr/img/screenshots/tuto/1.1_2_edit_software_sources.jpg]</div> |
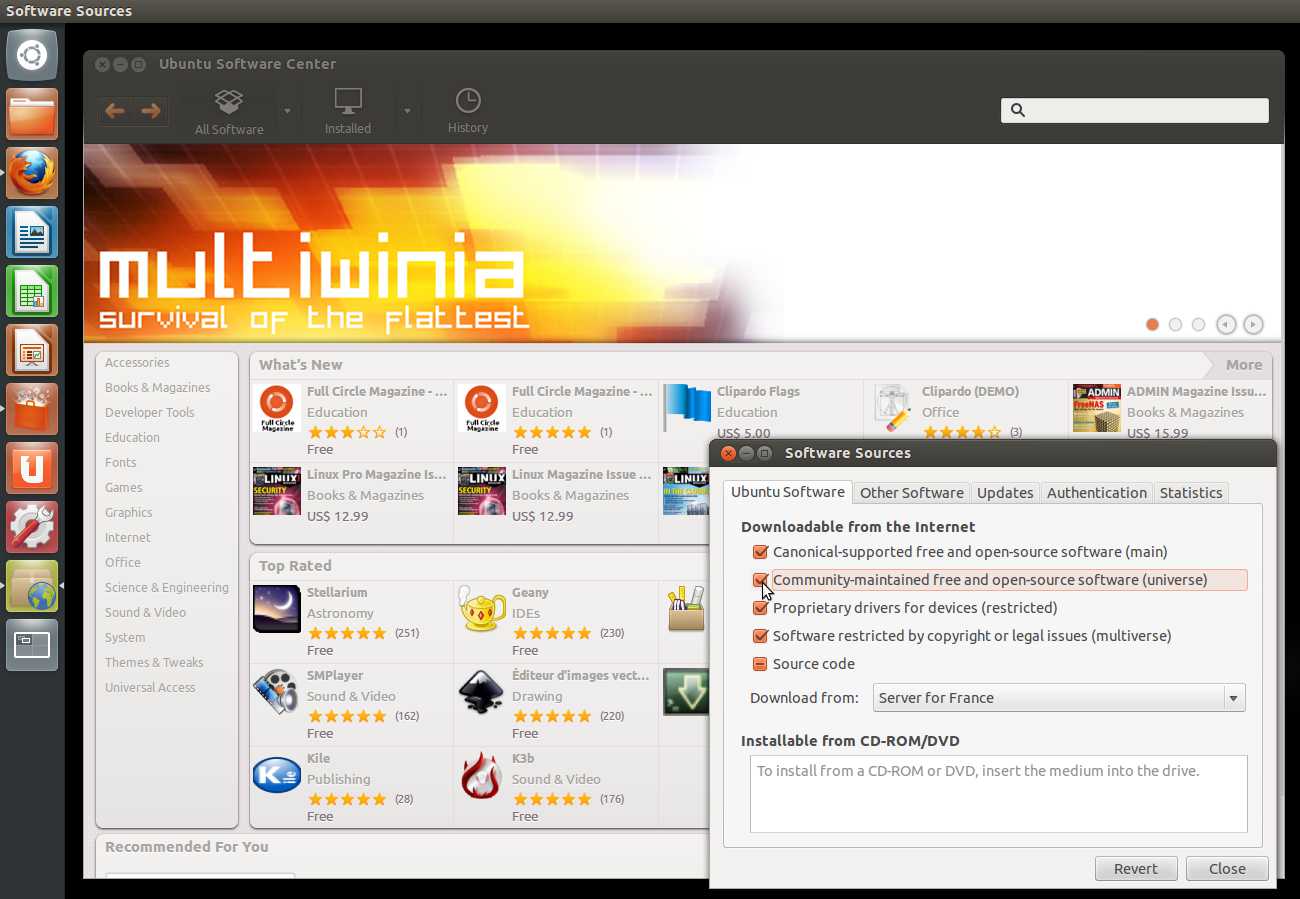
| | * Select "Community-maintained Open Source software (universe)", and close. | | * Select "Community-maintained Open Source software (universe)", and close. |
| − | :<div class="image200px">[http://gimx.fr/img/screenshots/tuto/1.1_3_universe.jpg http://gimx.fr/img/screenshots/tuto/1.1_3_universe.jpg]</div> | + | :<div class="image200px">[https://gimx.fr/img/screenshots/tuto/1.1_3_universe.jpg https://gimx.fr/img/screenshots/tuto/1.1_3_universe.jpg]</div> |
| | + | |
| | + | ==Refresh software sources== <!--T:6--> |
| | | | |
| − | ===Refresh software sources=== <!--T:6-->
| + | <!--T:21--> |
| | If you are running from a Live CD or a Live USB, you have to manually refresh software sources: | | If you are running from a Live CD or a Live USB, you have to manually refresh software sources: |
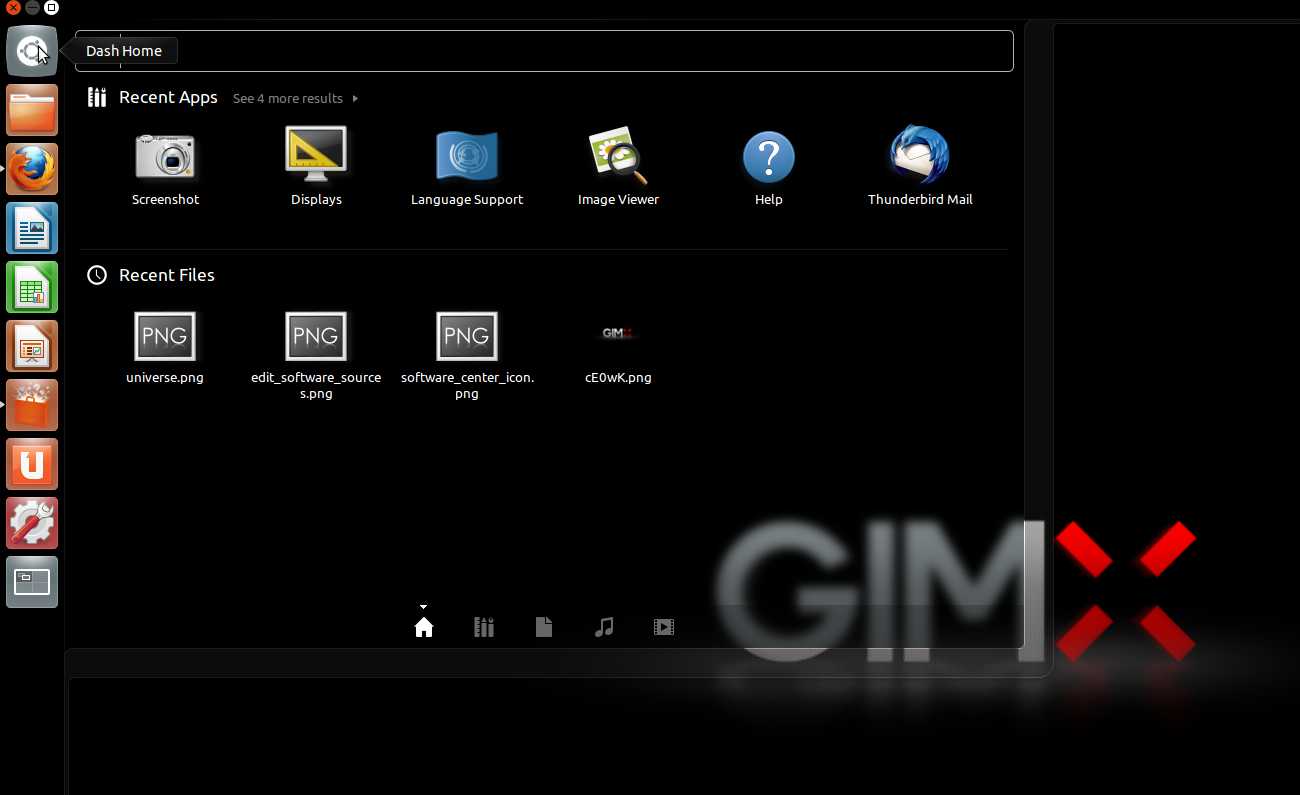
| | * Click on the Ubuntu desk. | | * Click on the Ubuntu desk. |
| − | :<div class="image200px">[http://gimx.fr/img/screenshots/tuto/1.1_4_ubuntu_desk.jpg http://gimx.fr/img/screenshots/tuto/1.1_4_ubuntu_desk.jpg]</div> | + | :<div class="image200px">[https://gimx.fr/img/screenshots/tuto/1.1_4_ubuntu_desk.jpg https://gimx.fr/img/screenshots/tuto/1.1_4_ubuntu_desk.jpg]</div> |
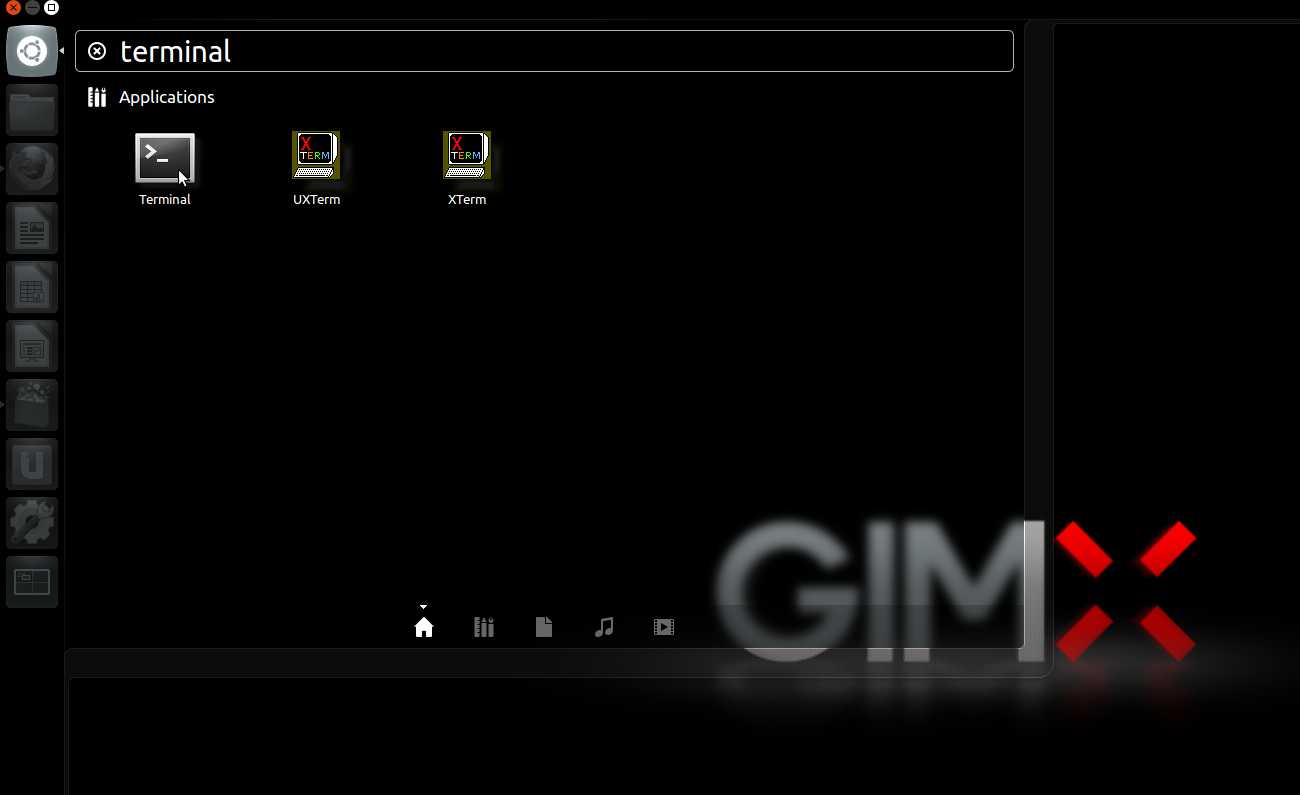
| | * In the search area, type "terminal" with no quotes, and hit enter. | | * In the search area, type "terminal" with no quotes, and hit enter. |
| − | :<div class="image200px">[http://gimx.fr/img/screenshots/tuto/1.1_5_search_terminal.jpg http://gimx.fr/img/screenshots/tuto/1.1_5_search_terminal.jpg]</div> | + | :<div class="image200px">[https://gimx.fr/img/screenshots/tuto/1.1_5_search_terminal.jpg https://gimx.fr/img/screenshots/tuto/1.1_5_search_terminal.jpg]</div> |
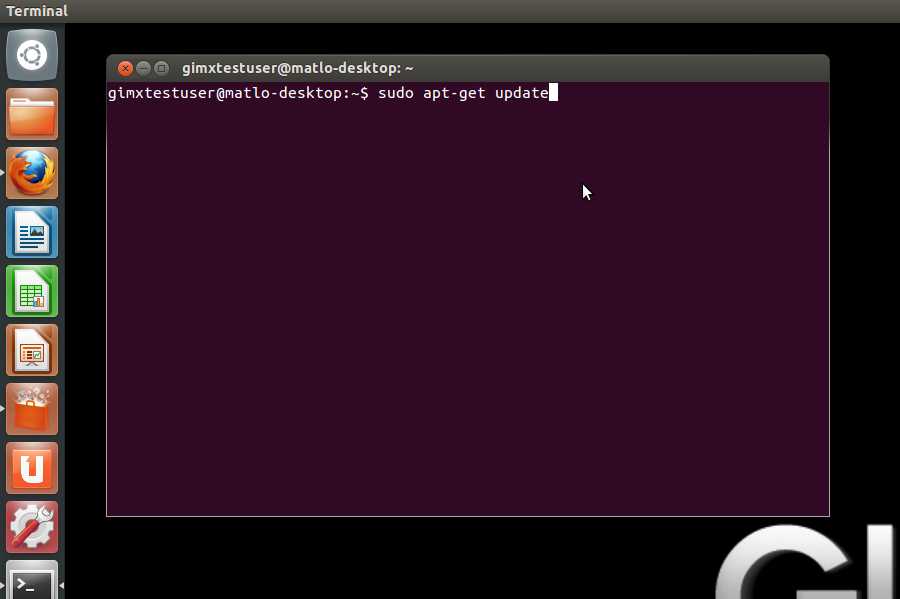
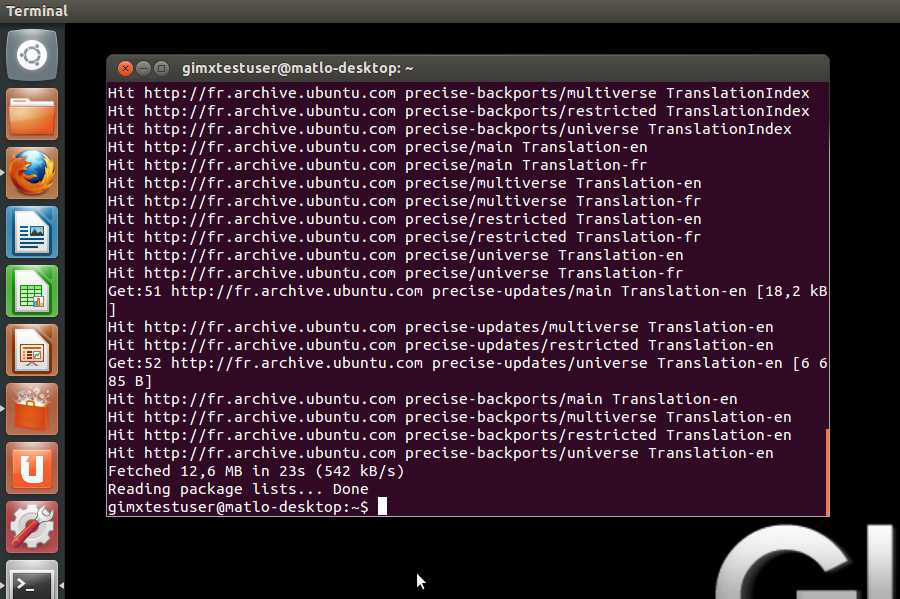
| | * In the terminal, type "sudo apt-get update" with no quotes, and hit enter. | | * In the terminal, type "sudo apt-get update" with no quotes, and hit enter. |
| − | :<div class="image200px">[http://gimx.fr/img/screenshots/tuto/1.1_6_apt_get_update.jpg http://gimx.fr/img/screenshots/tuto/1.1_6_apt_get_update.jpg]</div> | + | :<div class="image200px">[https://gimx.fr/img/screenshots/tuto/1.1_6_apt_get_update.jpg https://gimx.fr/img/screenshots/tuto/1.1_6_apt_get_update.jpg]</div> |
| − | :<div class="image200px">[http://gimx.fr/img/screenshots/tuto/1.1_7_update_ok.jpg http://gimx.fr/img/screenshots/tuto/1.1_7_update_ok.jpg]</div> | + | :<div class="image200px">[https://gimx.fr/img/screenshots/tuto/1.1_7_update_ok.jpg https://gimx.fr/img/screenshots/tuto/1.1_7_update_ok.jpg]</div> |
| | + | |
| | + | ==Download the .deb file== <!--T:7--> |
| | | | |
| − | ===Download the .deb file=== <!--T:7-->
| + | <!--T:22--> |
| − | * Downloard the .deb file: [http://gimx.fr/download/gimx-ubuntu-32bits.html 32bits] or [http://gimx.fr/download/gimx-ubuntu-64bits.html 64bits] | + | * Downloard the .deb file: [http://gimx.fr/download/gimx-ubuntu-32bits 32bits] or [http://gimx.fr/download/gimx-ubuntu-64bits 64bits] |
| | * Install it (double click, then install). | | * Install it (double click, then install). |
| | + | |
| | + | <!--T:23--> |
| | + | </div> |
| | + | |
| | + | =Next Tutorial= <!--T:24--> |
| | + | Now that GIMX is installed you can follow the instructions on the [[Quick_Start|Quick Start page]]. |
| | </translate> | | </translate> |