|
|
(10 intermediate revisions by 2 users not shown)
|
| Line 1: |
Line 1: |
| | <languages /> | | <languages /> |
| | + | {{Deprecated}} |
| | + | |
| | + | <div class="mw-translate-fuzzy"> |
| | ==Windows== | | ==Windows== |
| | + | </div> |
| | | | |
| − | <span class="mw-translate-fuzzy"> | + | <div class="mw-collapsible mw-collapsed"> |
| − | ===Téléchargez et installez GIMX=== | + | |
| − | * [http://gimx.fr/download/gimx-windows-32bits installeur 32-bit] | + | <div class="mw-translate-fuzzy"> |
| − | * [http://gimx.fr/download/gimx-windows-64bits installeur 64-bit] | + | ===Téléchargement et installation de GIMX=== |
| | + | * [https://gimx.fr/download/gimx-windows-32bits installeur 32-bit] |
| | + | * [https://gimx.fr/download/gimx-windows-64bits installeur 64-bit] |
| | L'installeur inclut les installeurs suivants: | | L'installeur inclut les installeurs suivants: |
| − | * CP210x driver - requis pour l'utilisation d'un adaptateur USB - série CP2102 | + | * driver CP210x - requis pour l'utilisation d'un adaptateur USB - série CP2102 |
| − | * USBDK driver - requis pour les consoles qui nécessitent une authentification du contrôleur | + | * driver USBDK - requis pour les consoles qui nécessitent une authentification du contrôleur |
| − | </span> | + | '''USBDK peut rendre instable certains systèmes, il est donc conseillé de créer un point de restauration du système avant de l'installer.'''<br /> |
| | + | Libusbk peut être utilisé à la place. Suivre les instructions suivantes pour l'utiliser: |
| | + | * Renommer le fichier libusb-1.0.dll du répertoire C:\Program Files\GIMX en libusb-1.0.dll.bk. |
| | + | * Télécharger le package libusb suivant : [http://sourceforge.net/projects/msys2/files/REPOS/MINGW_GCC_4_9/x86_64/mingw-w64-x86_64-libusb-1.0.19-2-any.pkg.tar.xz/download lien]. |
| | + | * L'ouvrir (avec [http://www.7-zip.org/ 7zip] par exemple) et extraire le fichier libusb-1.0.dll depuis le répertoire /mingw64/bin/ vers le répertoire C:\Program Files\GIMX. |
| | + | * Installer le driver libusbk comme expliqué ci-dessous. |
| | + | Note: le fichier libusb-1.0.dll sera écrasé par les mises à jours de GIMX. Refaire les instructions ci-dessus pour continuer d'utiliser libusbk. |
| | + | </div> |
| | + | |
| | + | * [https://gimx.fr/download/gimx-windows-32bits 32-bit setup], for 32-bit Windows only |
| | + | * [https://gimx.fr/download/gimx-windows-64bits 64-bit setup], for 64-bit Windows only |
| | + | Before installing GIMX: |
| | + | * install all Windows updates (otherwise GIMX may refuse to install) |
| | + | * create a system restore point, in case something goes wrong (USBDK was known to create instability on some systems) |
| | + | LibusbK can be used as an alternative to USBDK. |
| | + | |
| | + | <div class="mw-collapsible mw-collapsed"> |
| | + | |
| | + | '''(not recommended)''' |
| | + | |
| | + | * Rename the libusb-1.0.dll file from the C:\Program Files\GIMX folder to libusb-1.0.dll.bk. |
| | + | * Download this libusb package: [http://sourceforge.net/projects/msys2/files/REPOS/MINGW_GCC_4_9/x86_64/mingw-w64-x86_64-libusb-1.0.19-2-any.pkg.tar.xz/download link]. |
| | + | * Open it (with [http://www.7-zip.org/ 7zip] for example) and extract the libusb-1.0.dll file from the /mingw64/bin/ folder to the C:\Program Files\GIMX folder. |
| | + | * Install the libusbk driver as explained below. |
| | + | Note: the libusb-1.0.dll file will be replaced after updating GIMX. Perform the above steps again to keep using libusbK. |
| | + | </div> |
| | | | |
| − | <span class="mw-translate-fuzzy"> | + | <div class="mw-translate-fuzzy"> |
| − | ===Installation du driver libusbk=== | + | ===Installation du driver libusbk (pour Xbox One uniquement)=== |
| − | Pour les consoles qui nécessitent une authentification du contrôleur, le driver par défaut du contrôleur doit être remplacé par le driver libusbk.<br />
| + | Le driver par défaut du contrôleur doit être remplacé par le driver libusbk.<br /> |
| − | Depuis GIMX 4.0 ceci n'est nécessaire que pour la Xbox One.<br />
| + | Ceci empêche Windows d'envoyer des requêtes au contrôleur.<br /> |
| | Cela peut se faire simplement à l'aide de [http://zadig.akeo.ie/ Zadig]: | | Cela peut se faire simplement à l'aide de [http://zadig.akeo.ie/ Zadig]: |
| | * choisissez "Options->List All Devices" | | * choisissez "Options->List All Devices" |
| Line 20: |
Line 51: |
| | {| class="wikitable" | | {| class="wikitable" |
| | | Console || Nom du périphérique || USB ID | | | Console || Nom du périphérique || USB ID |
| − | |-
| |
| − | | Xbox 360 || "Controller" || 045E:028E
| |
| − | |-
| |
| − | | PS4 || "Wireless Controller" || 054C:05C4
| |
| | |- | | |- |
| | | Xbox One || "Controller" || 045E:02D1 | | | Xbox One || "Controller" || 045E:02D1 |
| Line 30: |
Line 57: |
| | * cliquez sur le menu déroulant et sélectionnez "Install Driver" | | * cliquez sur le menu déroulant et sélectionnez "Install Driver" |
| | * cliquez sur "Replace Driver" | | * cliquez sur "Replace Driver" |
| − | </span> | + | </div> |
| | + | |
| | + | It is required to replace the stock controller driver with the libusbk driver.<br /> |
| | + | This prevents Windows from making any request to the controller.<br /> |
| | + | This can easily be done using [http://zadig.akeo.ie/ Zadig]: |
| | + | * choose "Options->List All Devices" |
| | + | * select the right device: |
| | + | {| class="wikitable" |
| | + | | Console || Device name || USB ID |
| | + | |- |
| | + | | Xbox One || "Controller" || 045E:02D1 |
| | + | |} |
| | + | * select "libusbK" as target driver |
| | + | * click on the drop down menu, and select "Install Driver" |
| | + | * click on "Replace Driver" |
| | | | |
| − | ===Disable power saving (PS4 only)=== | + | <div class="mw-translate-fuzzy"> |
| | + | ===Désactivation de l'économie d'énergie pour les périphériques USB=== |
| | + | </div> |
| | | | |
| − | This is required to prevent Windows from turning off the Dualshock 4.<br />
| + | Ceci est nécessaire afin d'empêcher Windows d'éteindre le contrôleur ou le convertisseur USB série.<br /> |
| − | Go to the Device Manager > Right click on the USB HUB > Properties > Power management > Uncheck Allow the computer to turn off this device to save power.
| + | Ouvrir le gestionnaire de périphériques.<br /> |
| | + | Cliquer droit sur le HUB USB (s'assurer de sélectionner le bon) > Propriétés > Gestion de l'énergie > Désactiver "Autoriser l'ordinateur à éteindre ce périphérique pour économiser de l'énergie".<br /> |
| | + | Cliquer droit sur le port COM > Propriétés > Gestion de l'énergie > Désactiver "Autoriser l'ordinateur à éteindre ce périphérique pour économiser de l'énergie". |
| | | | |
| | + | </div> |
| | + | |
| | + | <div class="mw-translate-fuzzy"> |
| | ==Ubuntu== | | ==Ubuntu== |
| | + | </div> |
| | + | |
| | + | <div class="mw-collapsible mw-collapsed"> |
| | | | |
| | + | <div class="mw-translate-fuzzy"> |
| | ===Ajouter "universe" aux sources de logiciels=== | | ===Ajouter "universe" aux sources de logiciels=== |
| | * Démarrer la logithèque Ubuntu. | | * Démarrer la logithèque Ubuntu. |
| Line 46: |
Line 98: |
| | * Selectionner "Logiciels maintenus par la communauté (universe)", et fermer. | | * Selectionner "Logiciels maintenus par la communauté (universe)", et fermer. |
| | :<div class="image200px">[http://gimx.fr/img/screenshots/tuto/1.1_3_universe.jpg http://gimx.fr/img/screenshots/tuto/1.1_3_universe.jpg]</div> | | :<div class="image200px">[http://gimx.fr/img/screenshots/tuto/1.1_3_universe.jpg http://gimx.fr/img/screenshots/tuto/1.1_3_universe.jpg]</div> |
| | + | </div> |
| | + | |
| | + | * Start Ubuntu Software Center. |
| | + | :<div class="image200px">[https://gimx.fr/img/screenshots/tuto/1.1_1_software_center_icon.jpg https://gimx.fr/img/screenshots/tuto/1.1_1_software_center_icon.jpg]</div> |
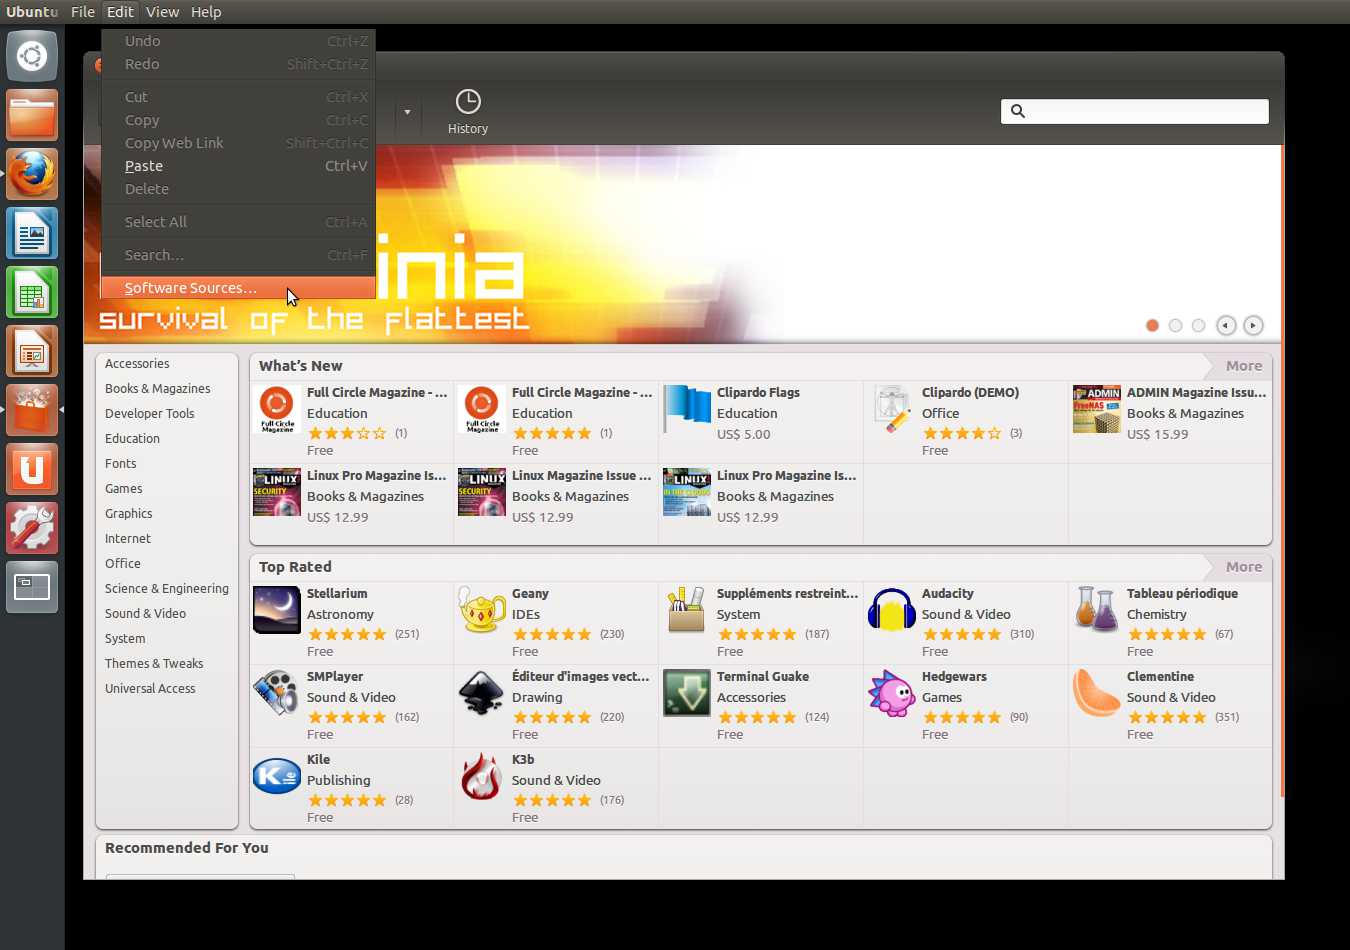
| | + | * Click Edit>Software Sources. |
| | + | :<div class="image200px">[https://gimx.fr/img/screenshots/tuto/1.1_2_edit_software_sources.jpg https://gimx.fr/img/screenshots/tuto/1.1_2_edit_software_sources.jpg]</div> |
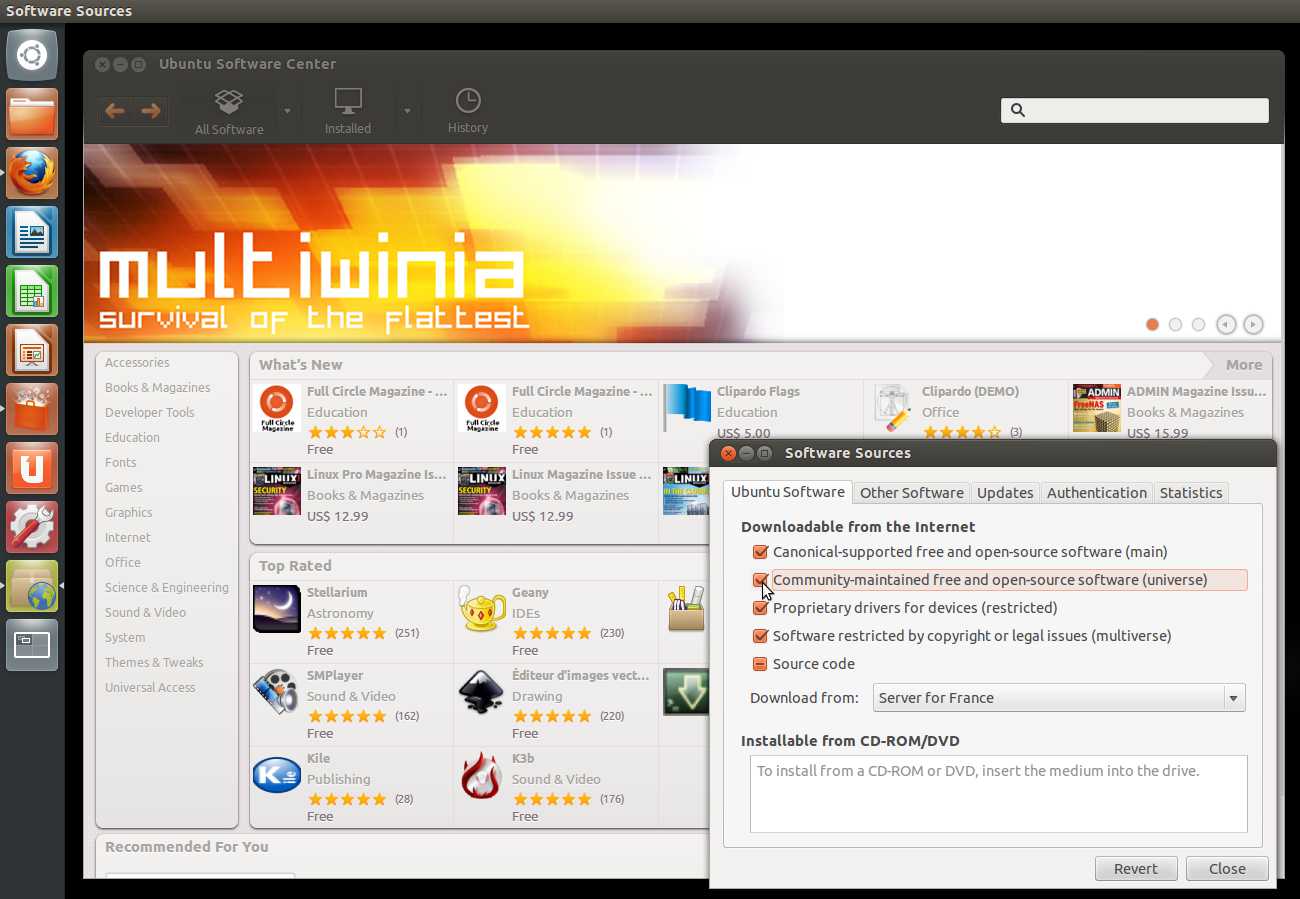
| | + | * Select "Community-maintained Open Source software (universe)", and close. |
| | + | :<div class="image200px">[https://gimx.fr/img/screenshots/tuto/1.1_3_universe.jpg https://gimx.fr/img/screenshots/tuto/1.1_3_universe.jpg]</div> |
| | | | |
| | + | <div class="mw-translate-fuzzy"> |
| | ===Rafraîchir les sources de logiciels=== | | ===Rafraîchir les sources de logiciels=== |
| | Si vous exécutez GIMX depuis un Live CD ou Live USB, vous devez rafraîchir manuellement les sources de logiciels: | | Si vous exécutez GIMX depuis un Live CD ou Live USB, vous devez rafraîchir manuellement les sources de logiciels: |
| Line 56: |
Line 117: |
| | :<div class="image200px">[http://gimx.fr/img/screenshots/tuto/1.1_6_apt_get_update.jpg http://gimx.fr/img/screenshots/tuto/1.1_6_apt_get_update.jpg]</div> | | :<div class="image200px">[http://gimx.fr/img/screenshots/tuto/1.1_6_apt_get_update.jpg http://gimx.fr/img/screenshots/tuto/1.1_6_apt_get_update.jpg]</div> |
| | :<div class="image200px">[http://gimx.fr/img/screenshots/tuto/1.1_7_update_ok.jpg http://gimx.fr/img/screenshots/tuto/1.1_7_update_ok.jpg]</div> | | :<div class="image200px">[http://gimx.fr/img/screenshots/tuto/1.1_7_update_ok.jpg http://gimx.fr/img/screenshots/tuto/1.1_7_update_ok.jpg]</div> |
| | + | </div> |
| | | | |
| | + | If you are running from a Live CD or a Live USB, you have to manually refresh software sources: |
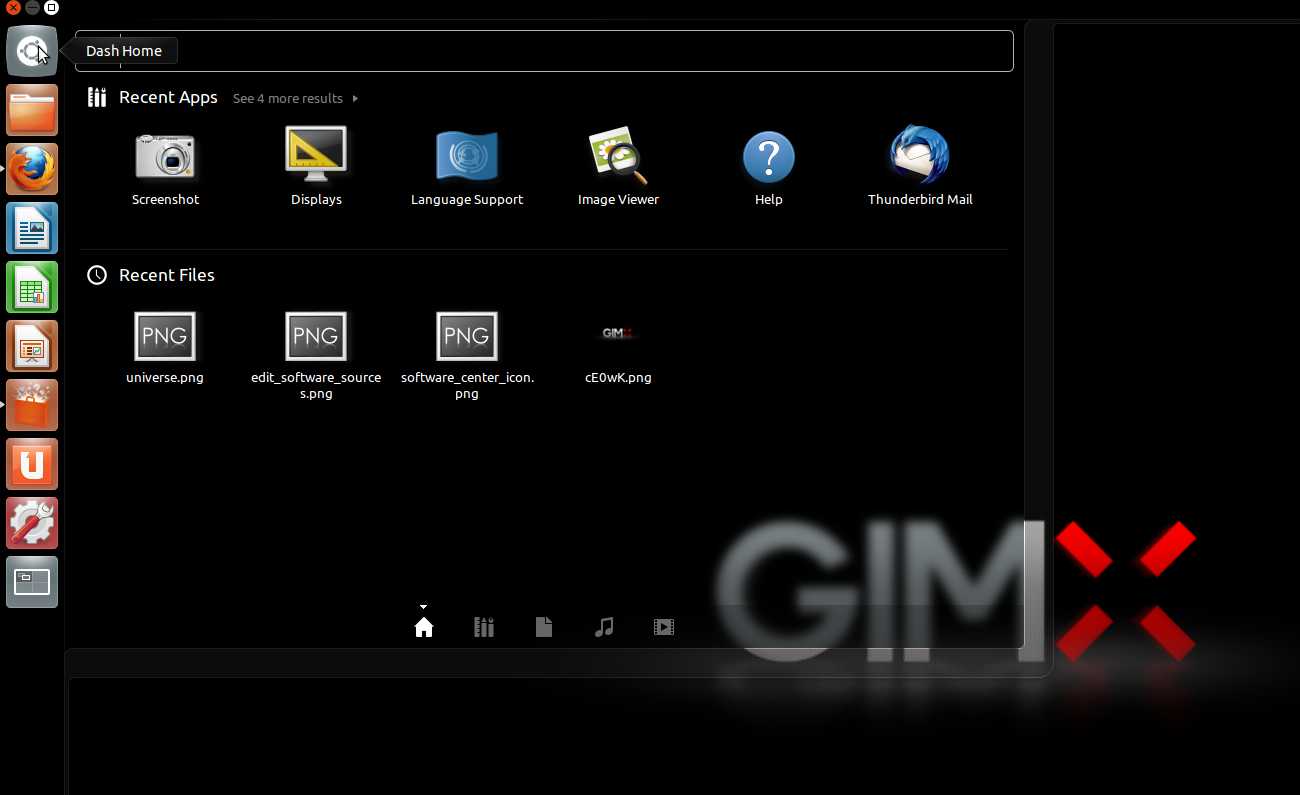
| | + | * Click on the Ubuntu desk. |
| | + | :<div class="image200px">[https://gimx.fr/img/screenshots/tuto/1.1_4_ubuntu_desk.jpg https://gimx.fr/img/screenshots/tuto/1.1_4_ubuntu_desk.jpg]</div> |
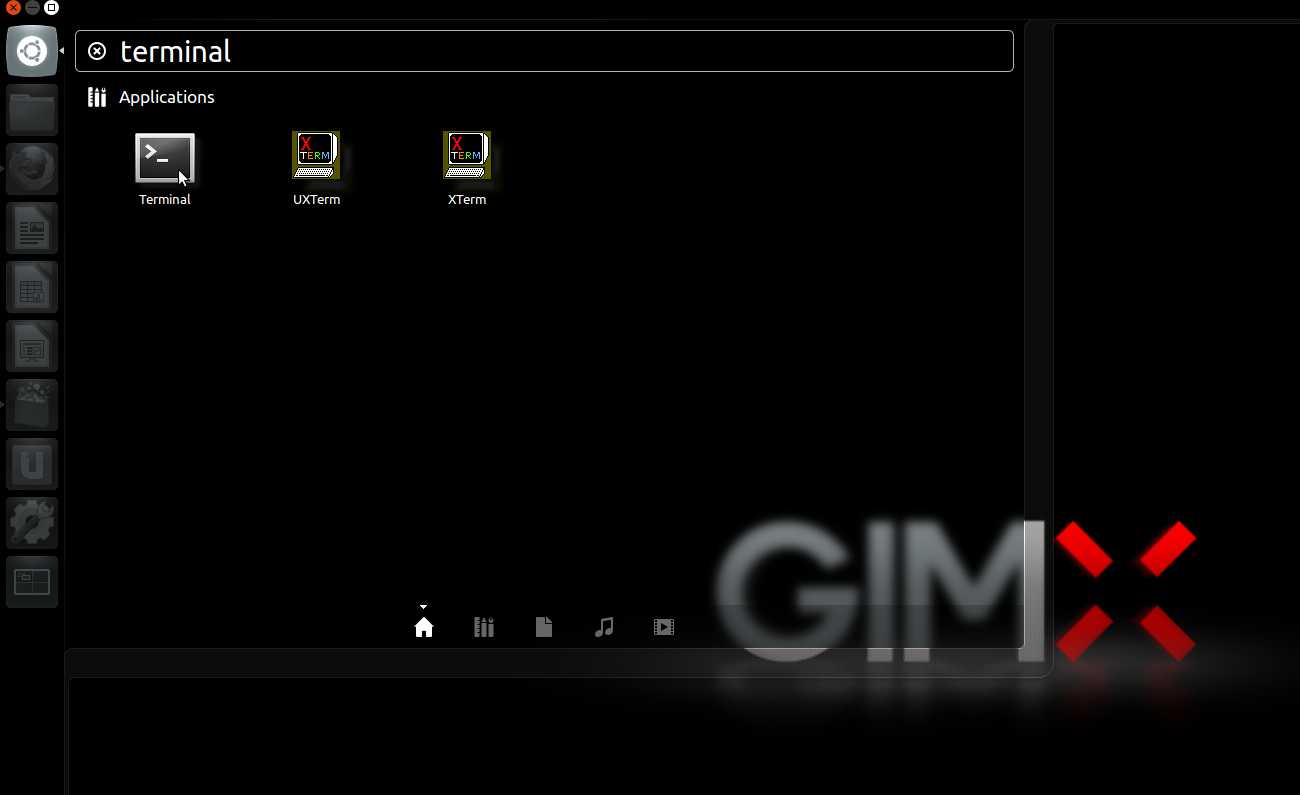
| | + | * In the search area, type "terminal" with no quotes, and hit enter. |
| | + | :<div class="image200px">[https://gimx.fr/img/screenshots/tuto/1.1_5_search_terminal.jpg https://gimx.fr/img/screenshots/tuto/1.1_5_search_terminal.jpg]</div> |
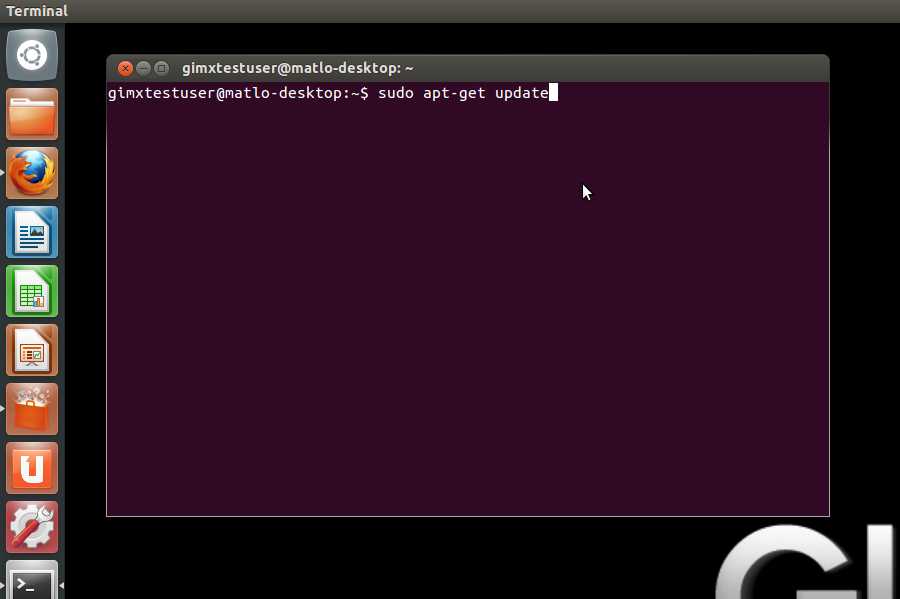
| | + | * In the terminal, type "sudo apt-get update" with no quotes, and hit enter. |
| | + | :<div class="image200px">[https://gimx.fr/img/screenshots/tuto/1.1_6_apt_get_update.jpg https://gimx.fr/img/screenshots/tuto/1.1_6_apt_get_update.jpg]</div> |
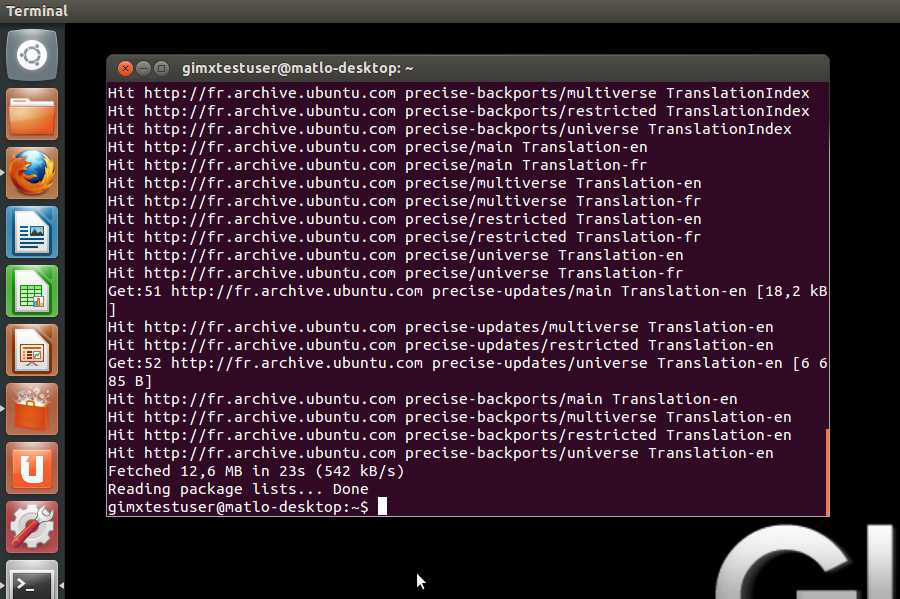
| | + | :<div class="image200px">[https://gimx.fr/img/screenshots/tuto/1.1_7_update_ok.jpg https://gimx.fr/img/screenshots/tuto/1.1_7_update_ok.jpg]</div> |
| | + | |
| | + | <div class="mw-translate-fuzzy"> |
| | ===Télécharger le fichier .deb=== | | ===Télécharger le fichier .deb=== |
| | * Télécharger le fichier .deb : [http://gimx.fr/download/gimx-ubuntu-32bits 32bits] ou [http://gimx.fr/download/gimx-ubuntu-64bits 64bits] | | * Télécharger le fichier .deb : [http://gimx.fr/download/gimx-ubuntu-32bits 32bits] ou [http://gimx.fr/download/gimx-ubuntu-64bits 64bits] |
| | * L'installer (double clic, puis installer). | | * L'installer (double clic, puis installer). |
| | + | </div> |
| | + | |
| | + | * Downloard the .deb file: [http://gimx.fr/download/gimx-ubuntu-32bits 32bits] or [http://gimx.fr/download/gimx-ubuntu-64bits 64bits] |
| | + | * Install it (double click, then install). |
| | + | |
| | + | </div> |
| | + | |
| | + | =Next Tutorial= |
| | + | Now that GIMX is installed you can follow the instructions on the [[Quick_Start|Quick Start page]]. |